Game Design Tutorials
Quick Start GuideIn order to build and run your game, you must have three things to start. A sprite, a game object set as 'playable character', and a level for your character to explore. See Game Components Guide for more info on these. There are 3 main tools to create and configure these game components which are: Game Designer, Game Templates, and Game Builder . Each of these tools can be used independently or together to build your game. Game Designer has sprite, game object, and level managers with many built in editors to create your game components. Game Templates provides a way to build your game based off of prebuilt and configured games made by Gamergami users. Templates are the fastest way to create and play your game. Game Builder is an automation tool which allows autobuilding of sprites, game objects, and levels. It is scriptable and provides a way to save game builds for later reuse. Generative AI is built in throughout the Game Designer tool suite. Utilize image generation, LLM based game naratives, and character designs with these AI tools. Game DesignerFor a quick start utilzing Game Designer use the following steps: 1. Click on Game Designer in the left hand menu 2. Enter your game's name and click the 'Add' button 3. Your game will appear in the listing below, click on it to enter the Game Editor 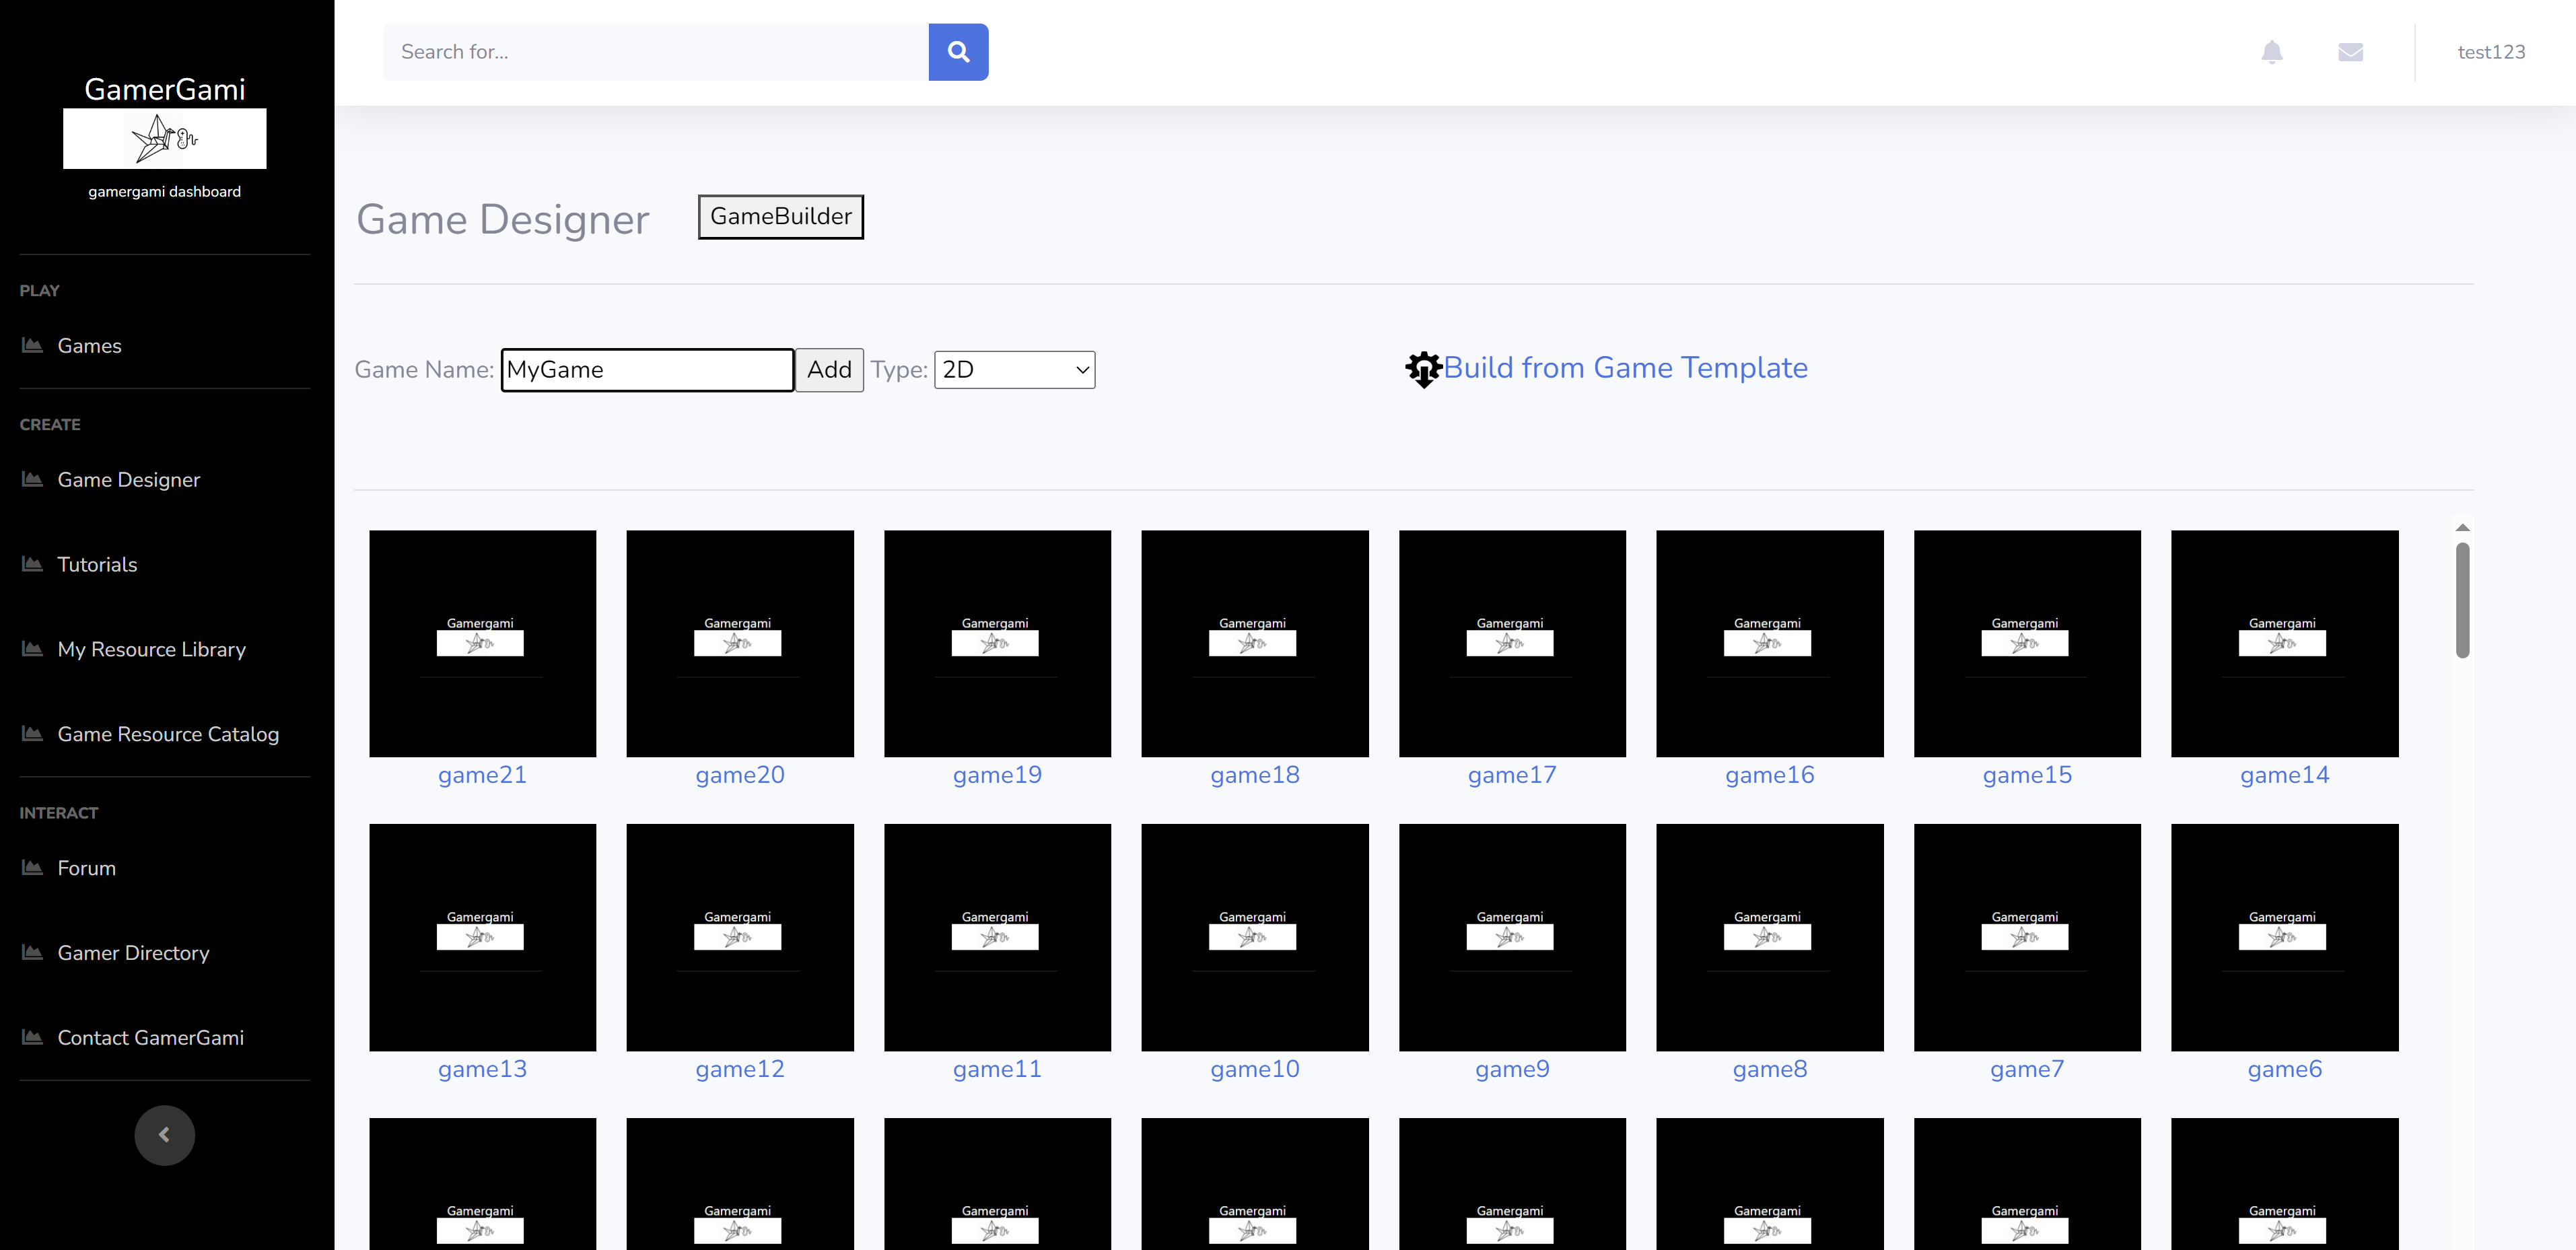 4. Click on the Sprite tab to enter the Sprite Manager 5. Enter a name for your character 6. Click 'Create Game Object' and select 'Playable Character' in the type drop down box 7. Click 'Create Universal-LPC-SpriteSheet' 8. Customize you character 9. Click 'Create Spritesheet' when finished 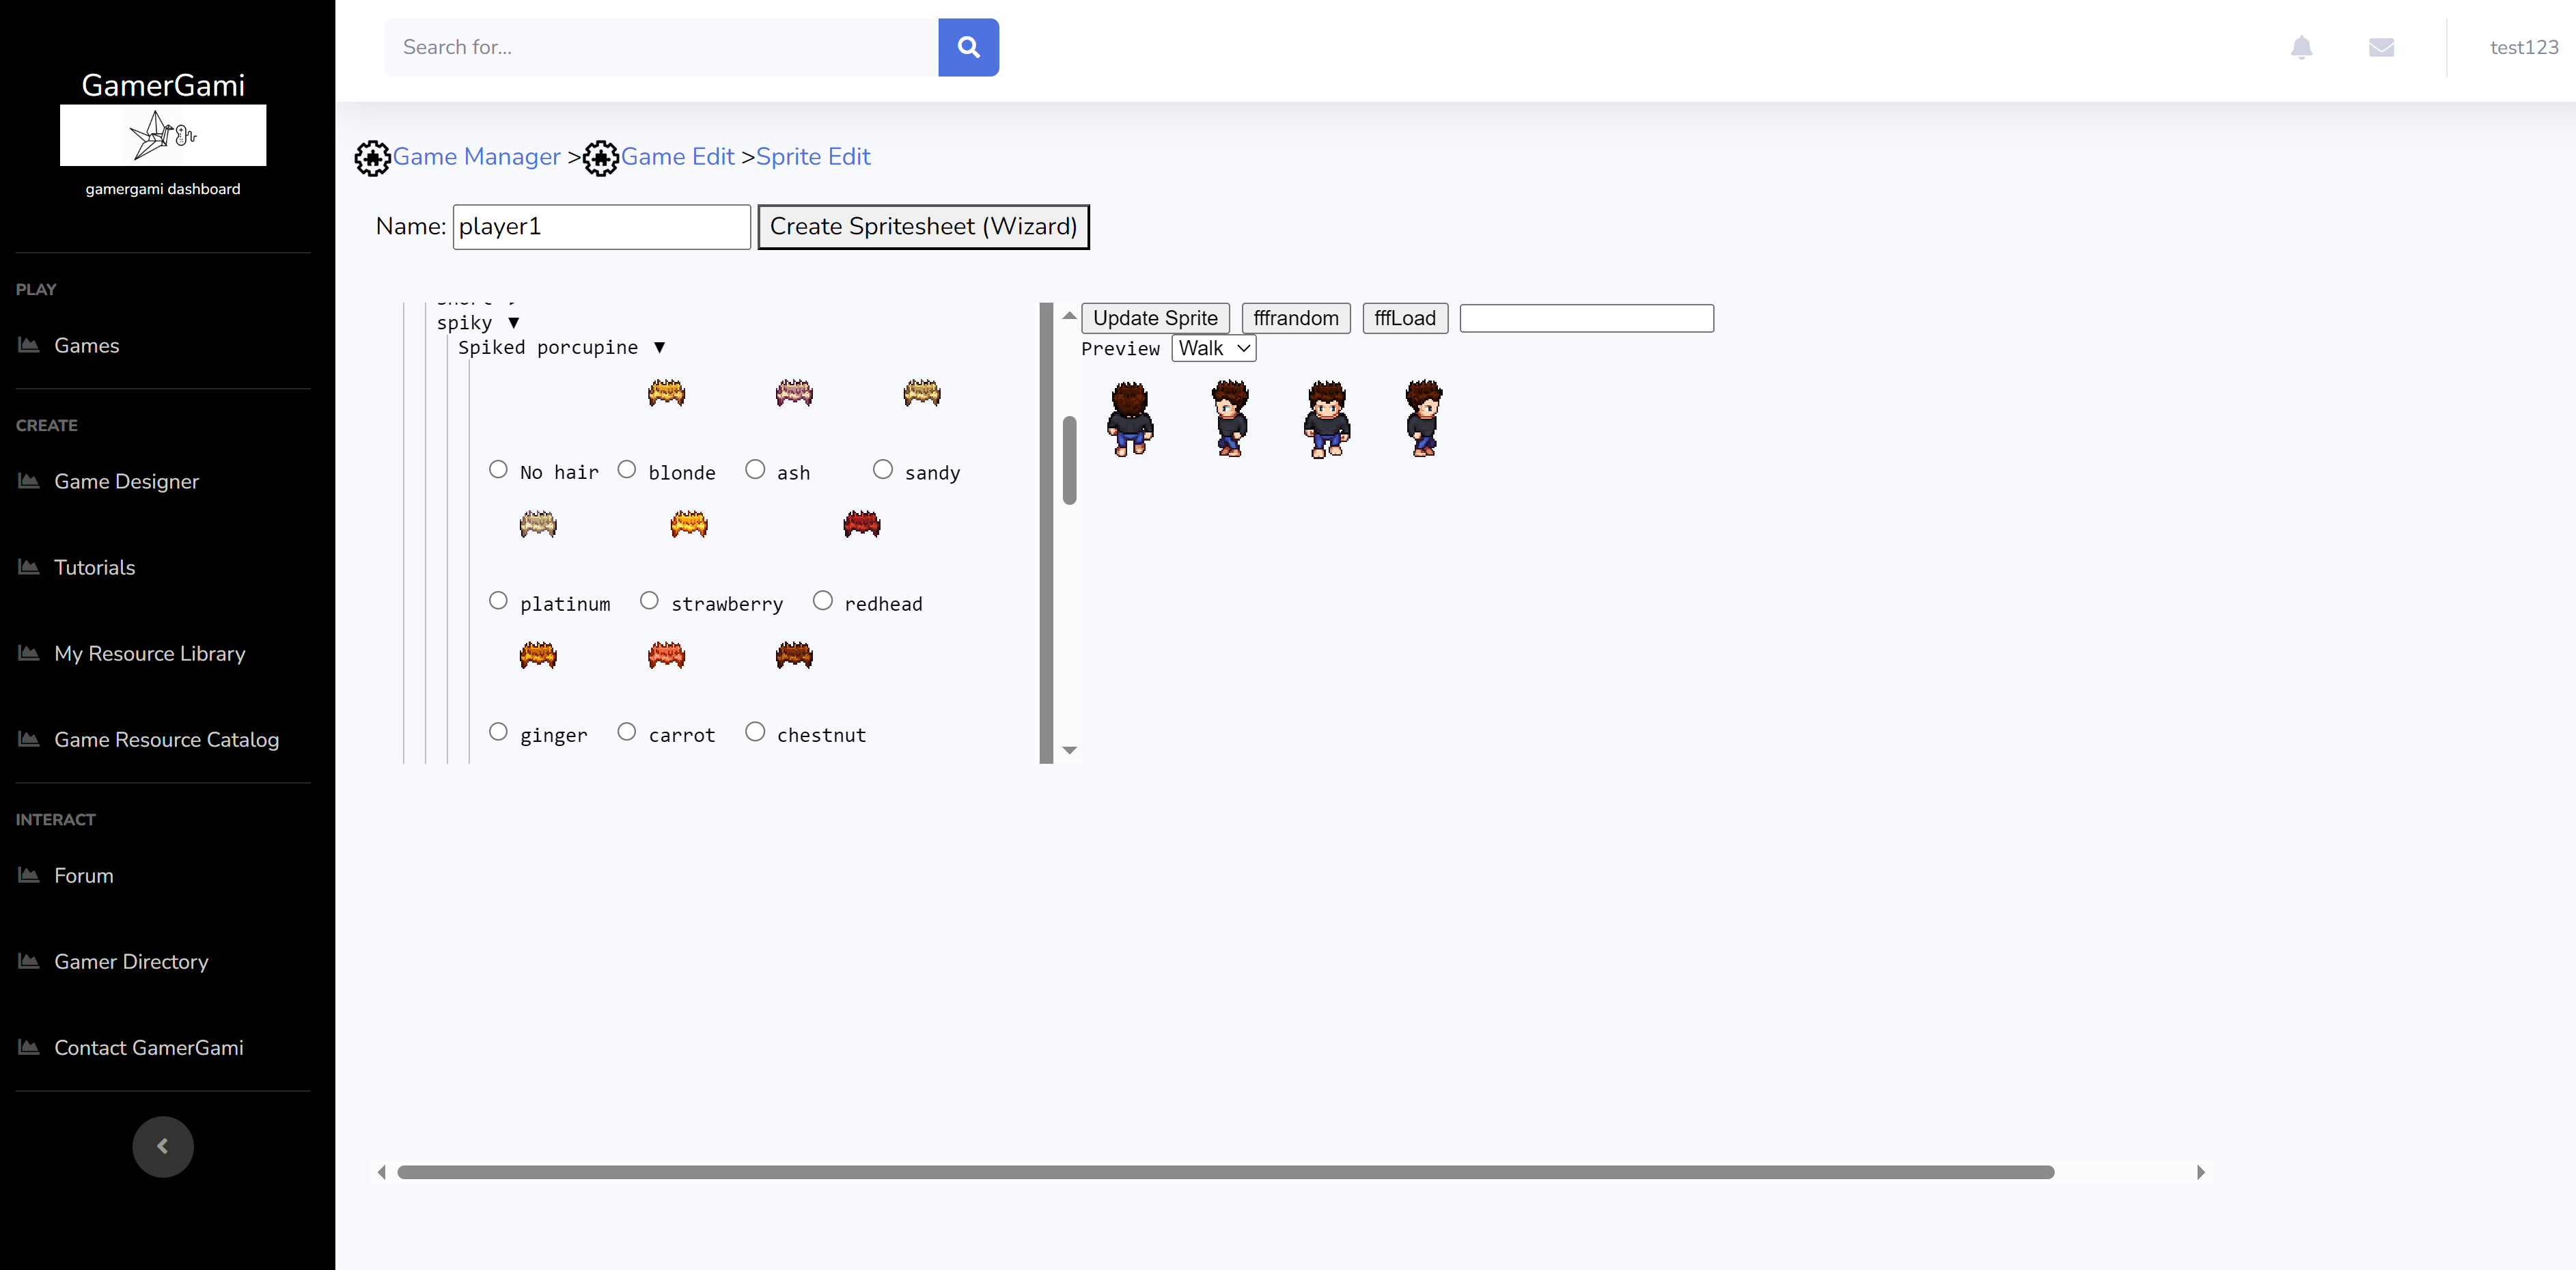 10. Verify you have your character listed in the Sprite tab as well as the Game Object tab 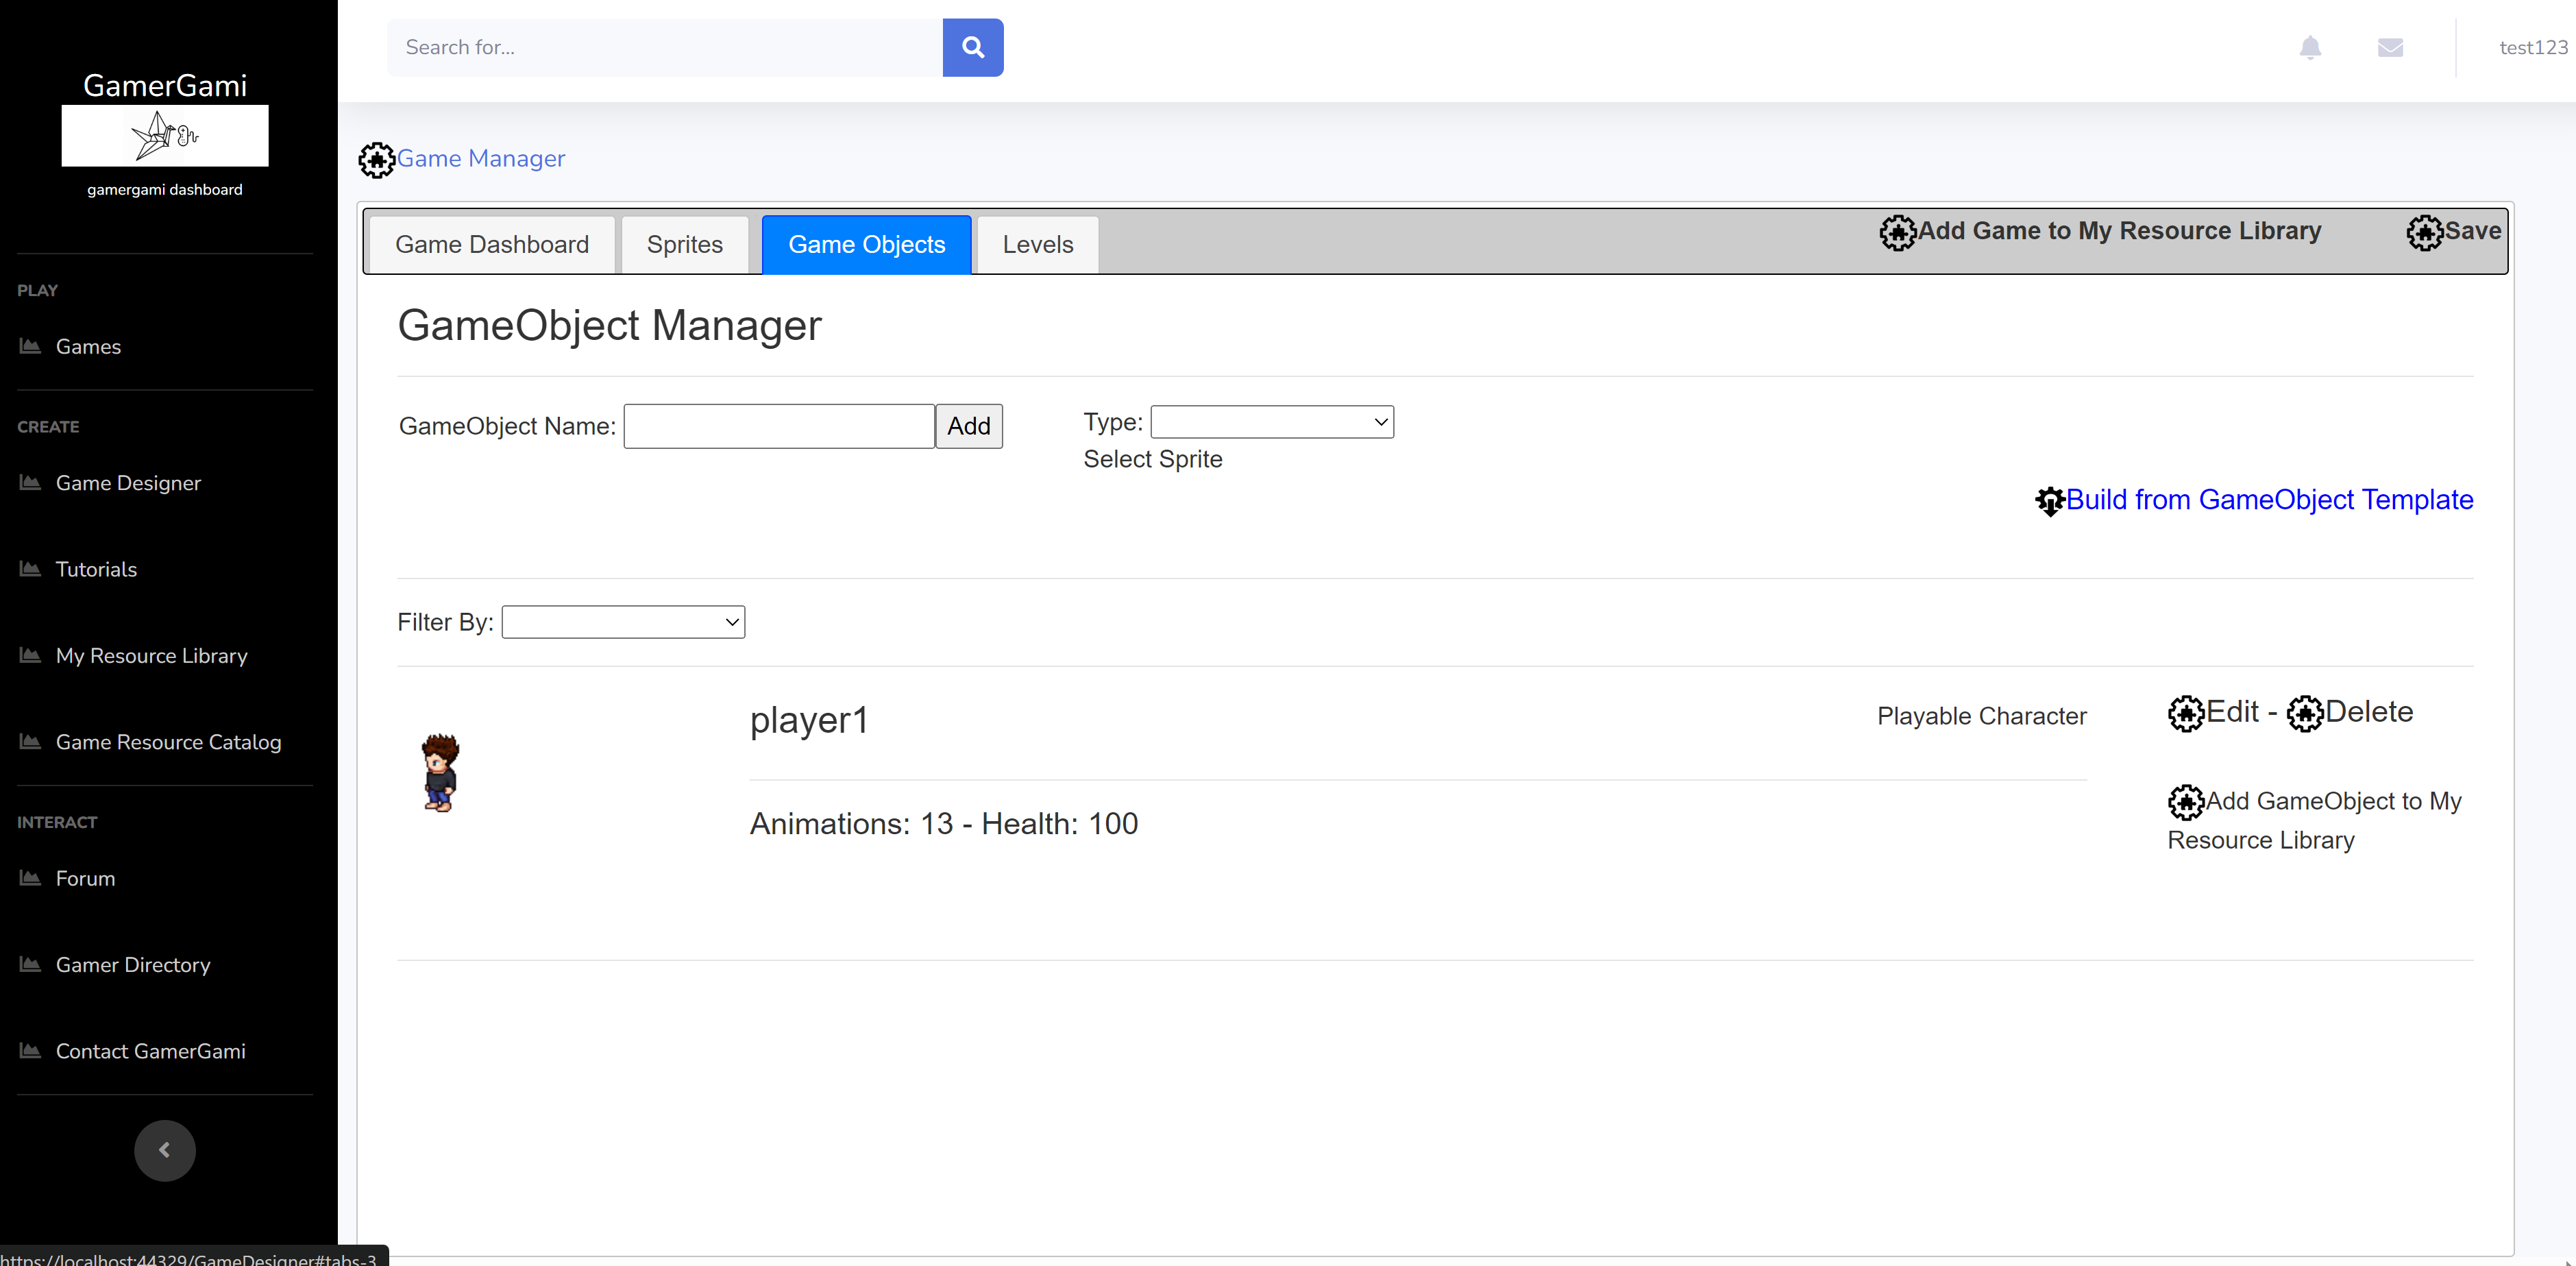 11. Click the Levels tab 12. Add a level name and optionally select a level backgound. Then click 'Add' It may take some time to generate the level background if selected. 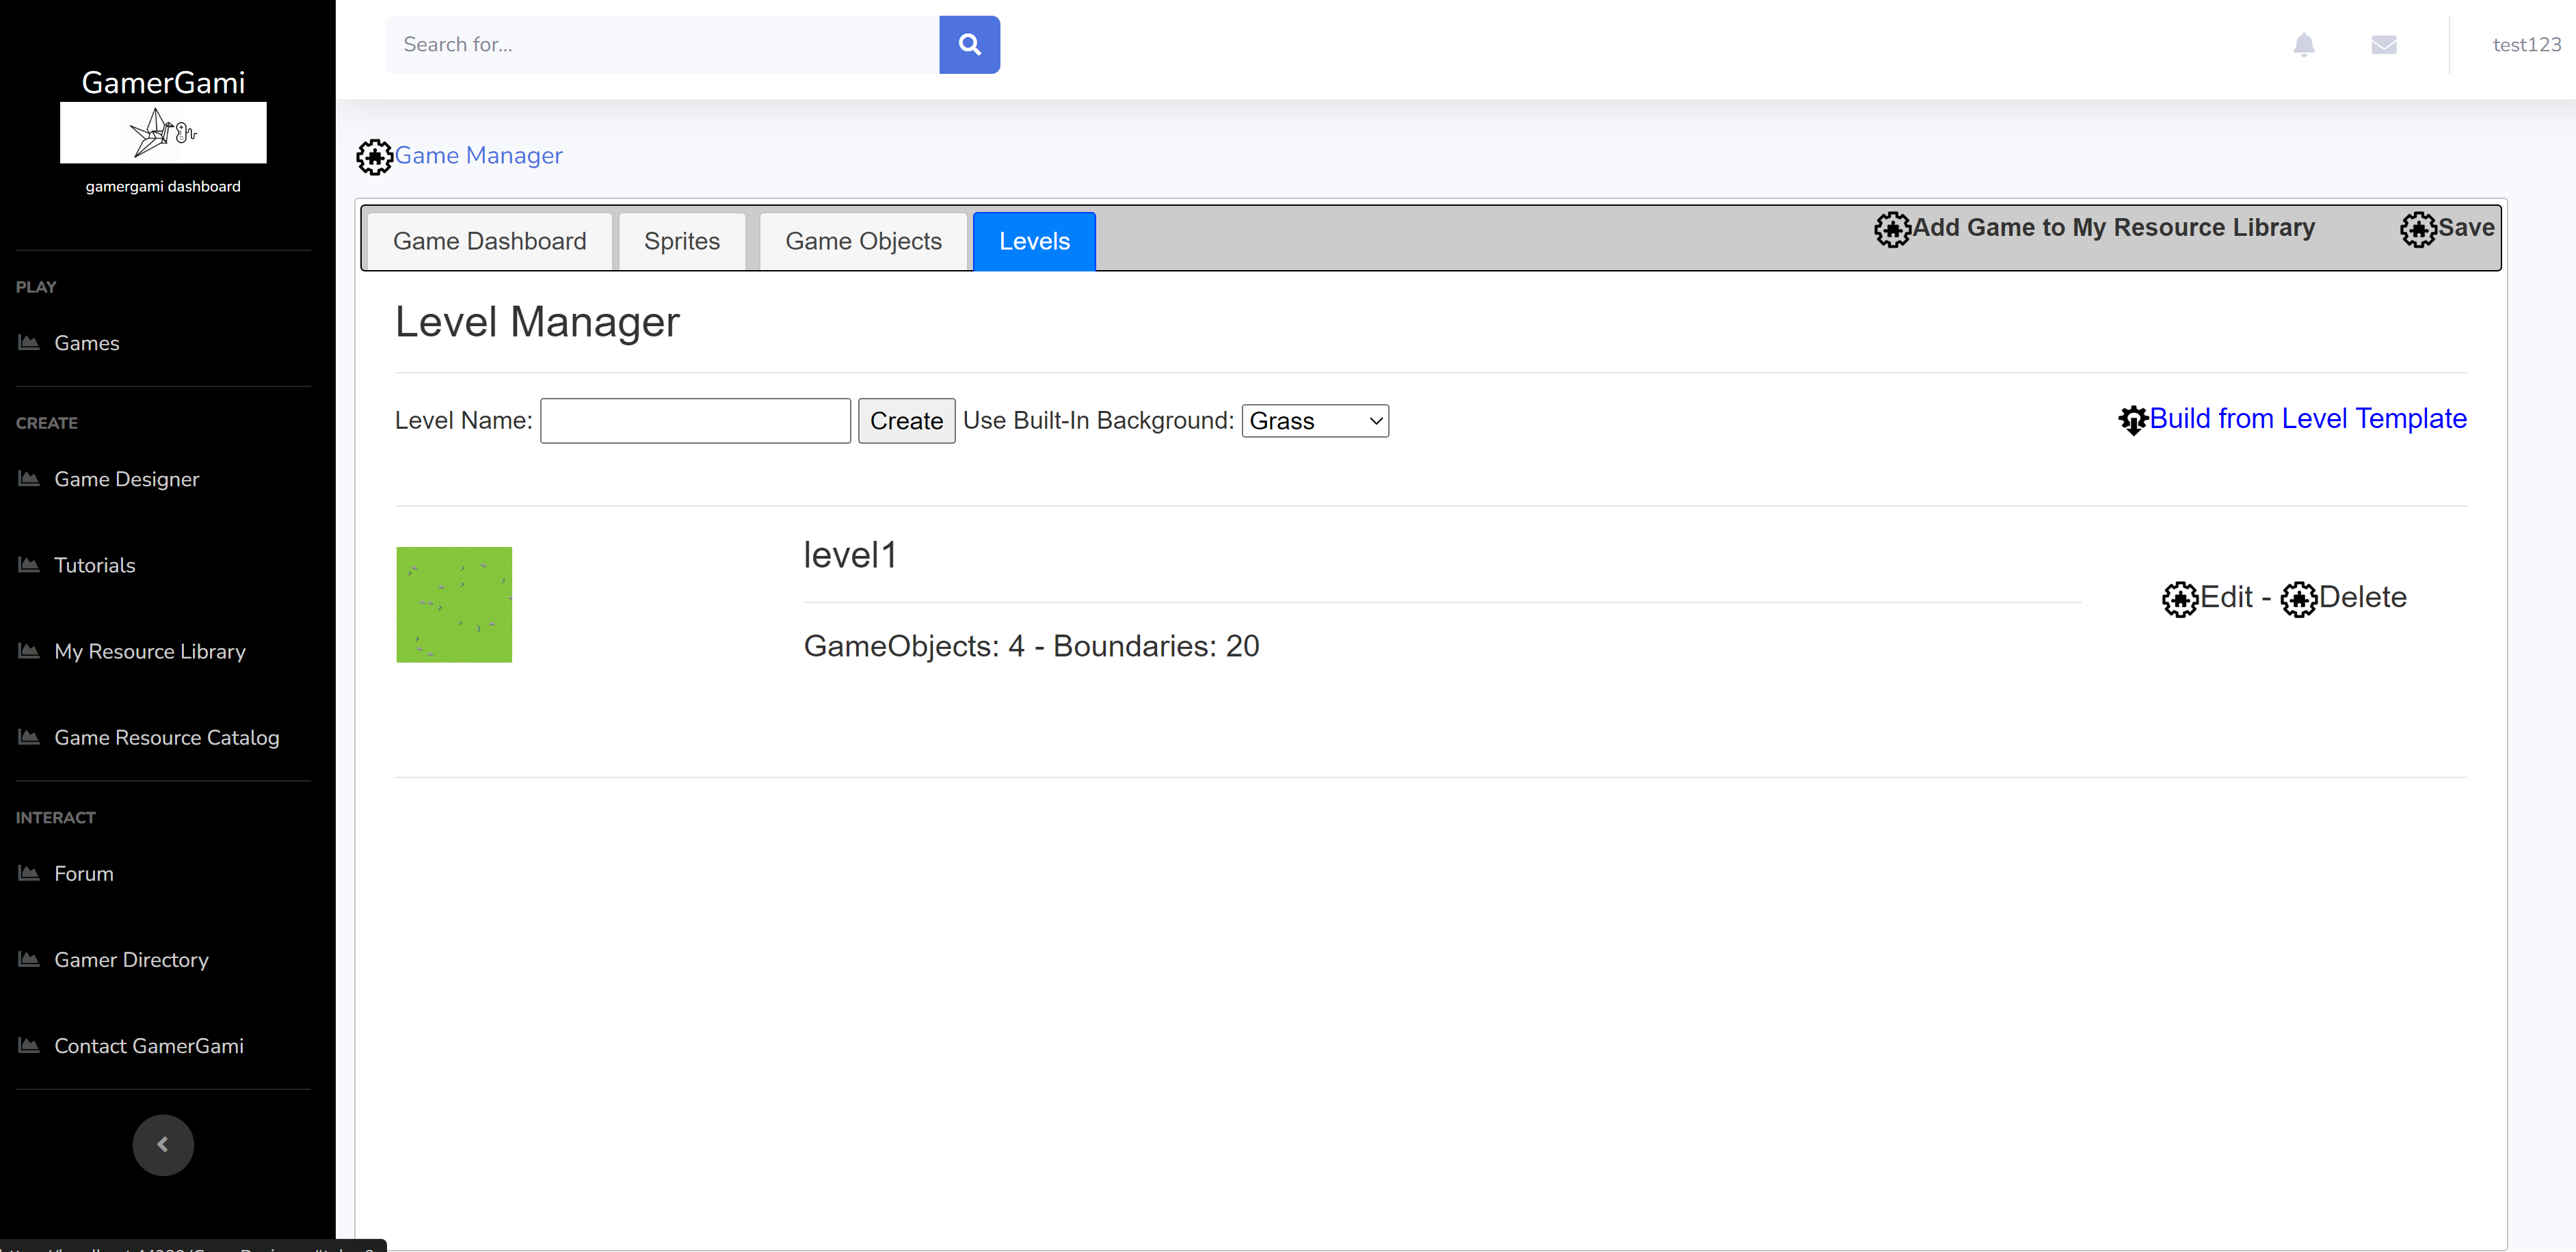 13. Click edit to enter the level editor 14. If you have made other sprites and game objects at this point, you can add them to the level in the level editor 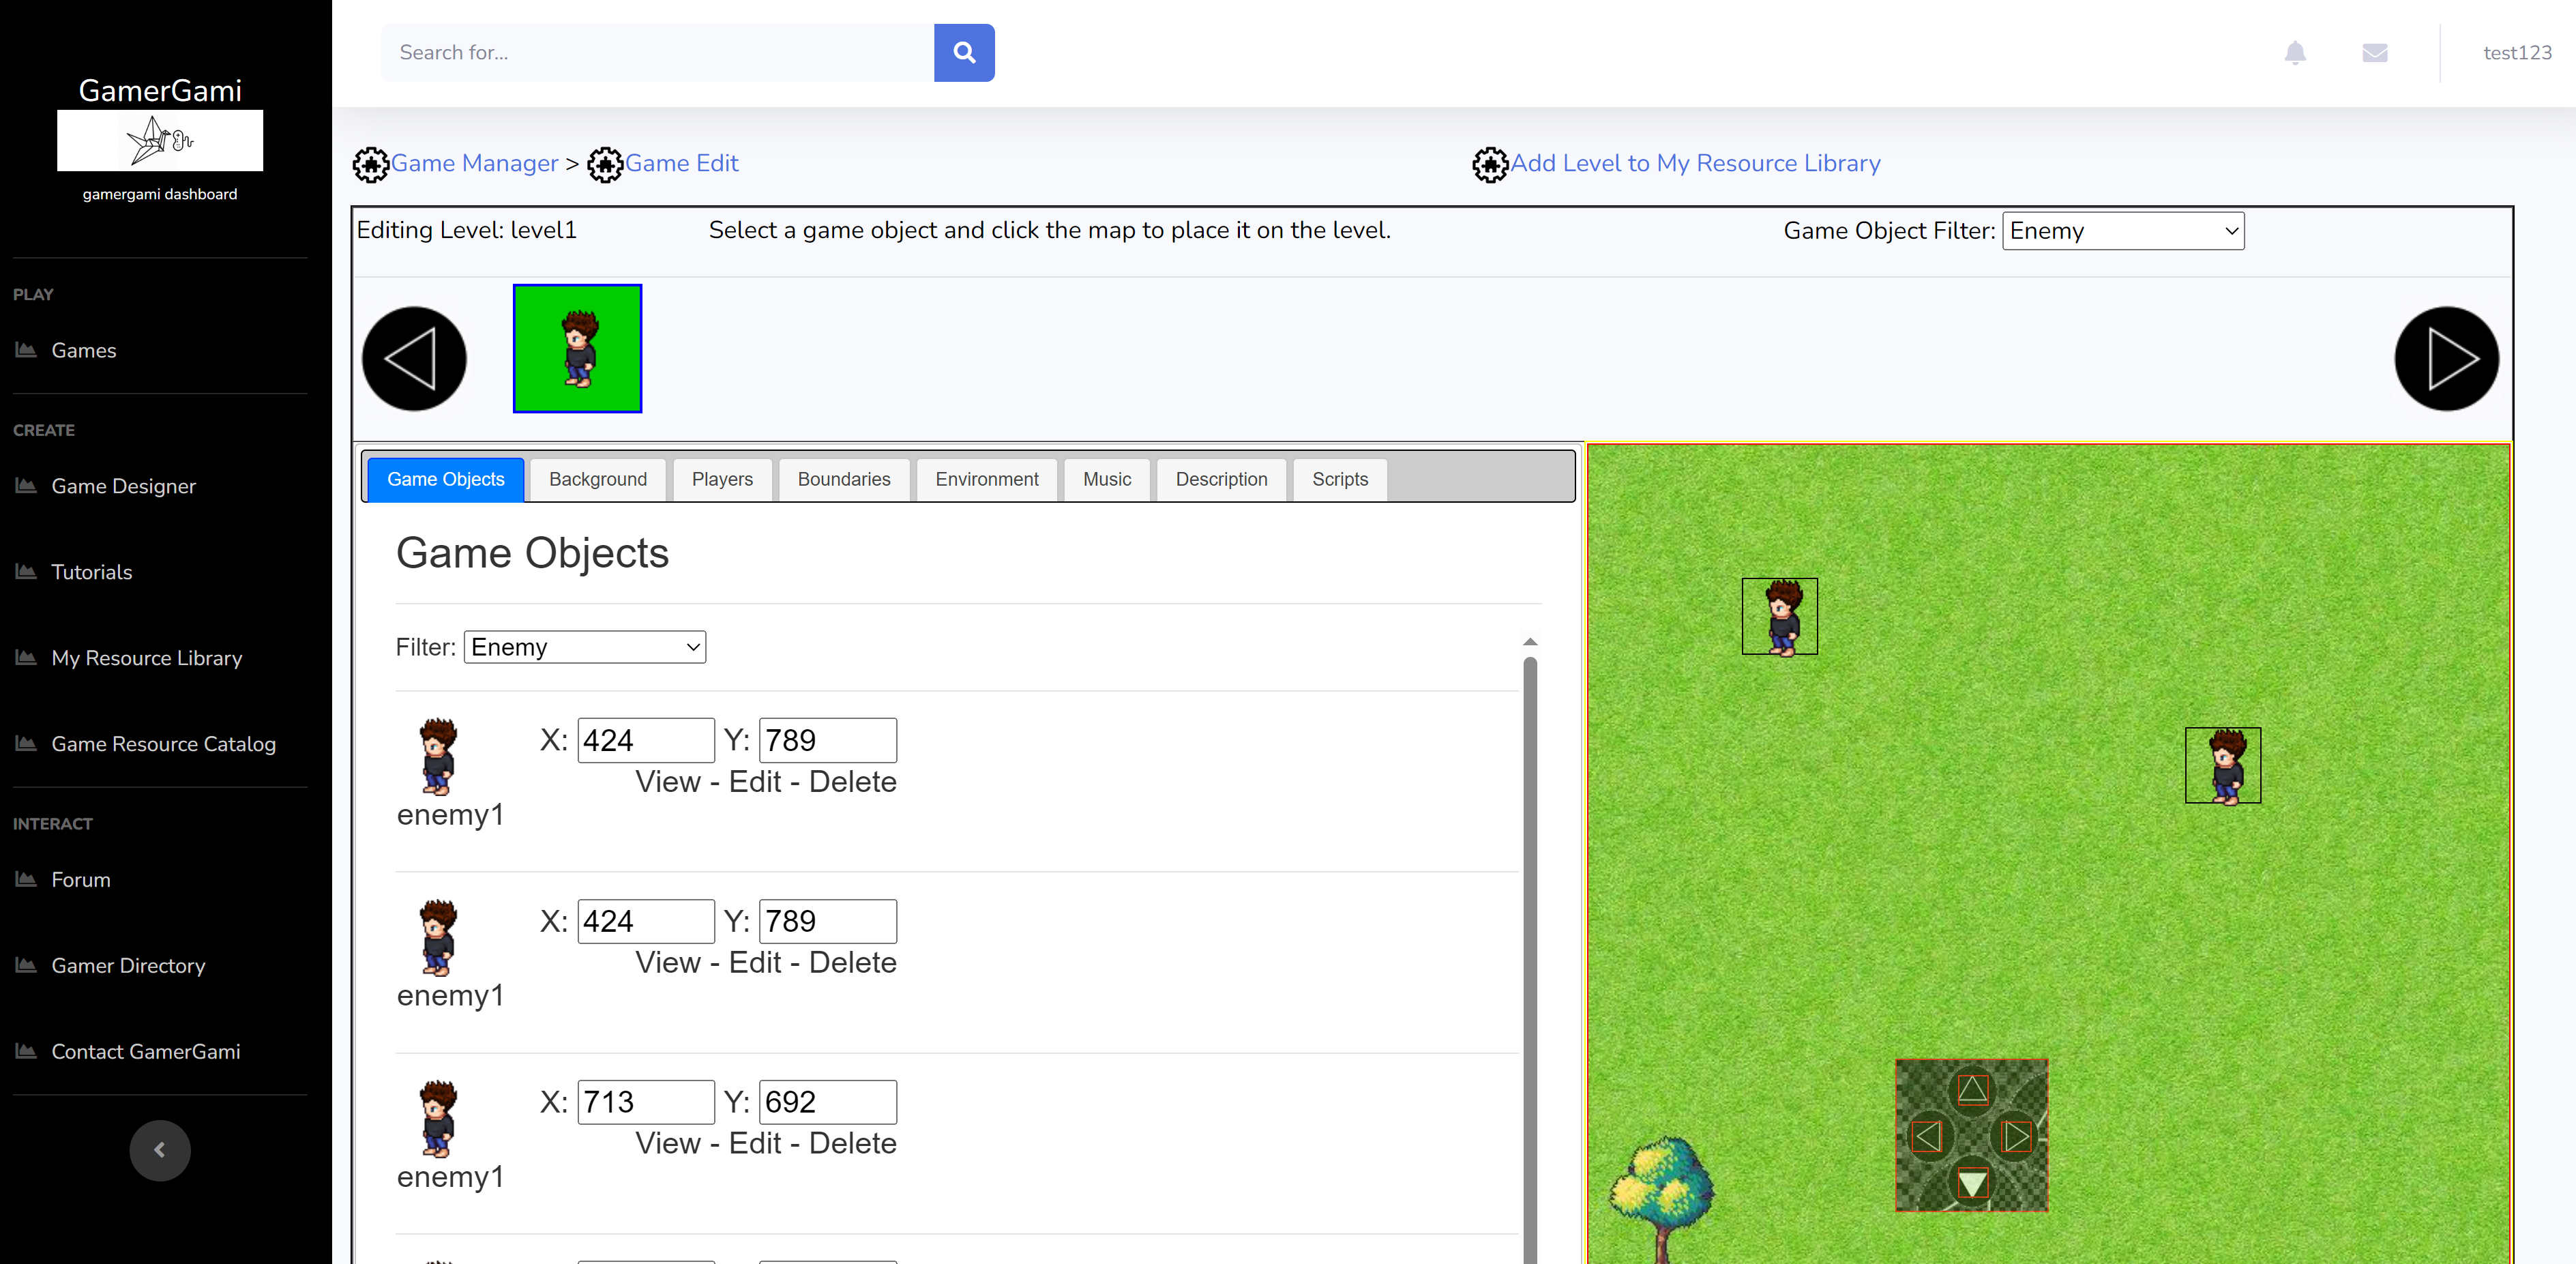 15. You can customize your level background and settings 16. You can also use Generative AI to create a level background automatically with a text based prompt 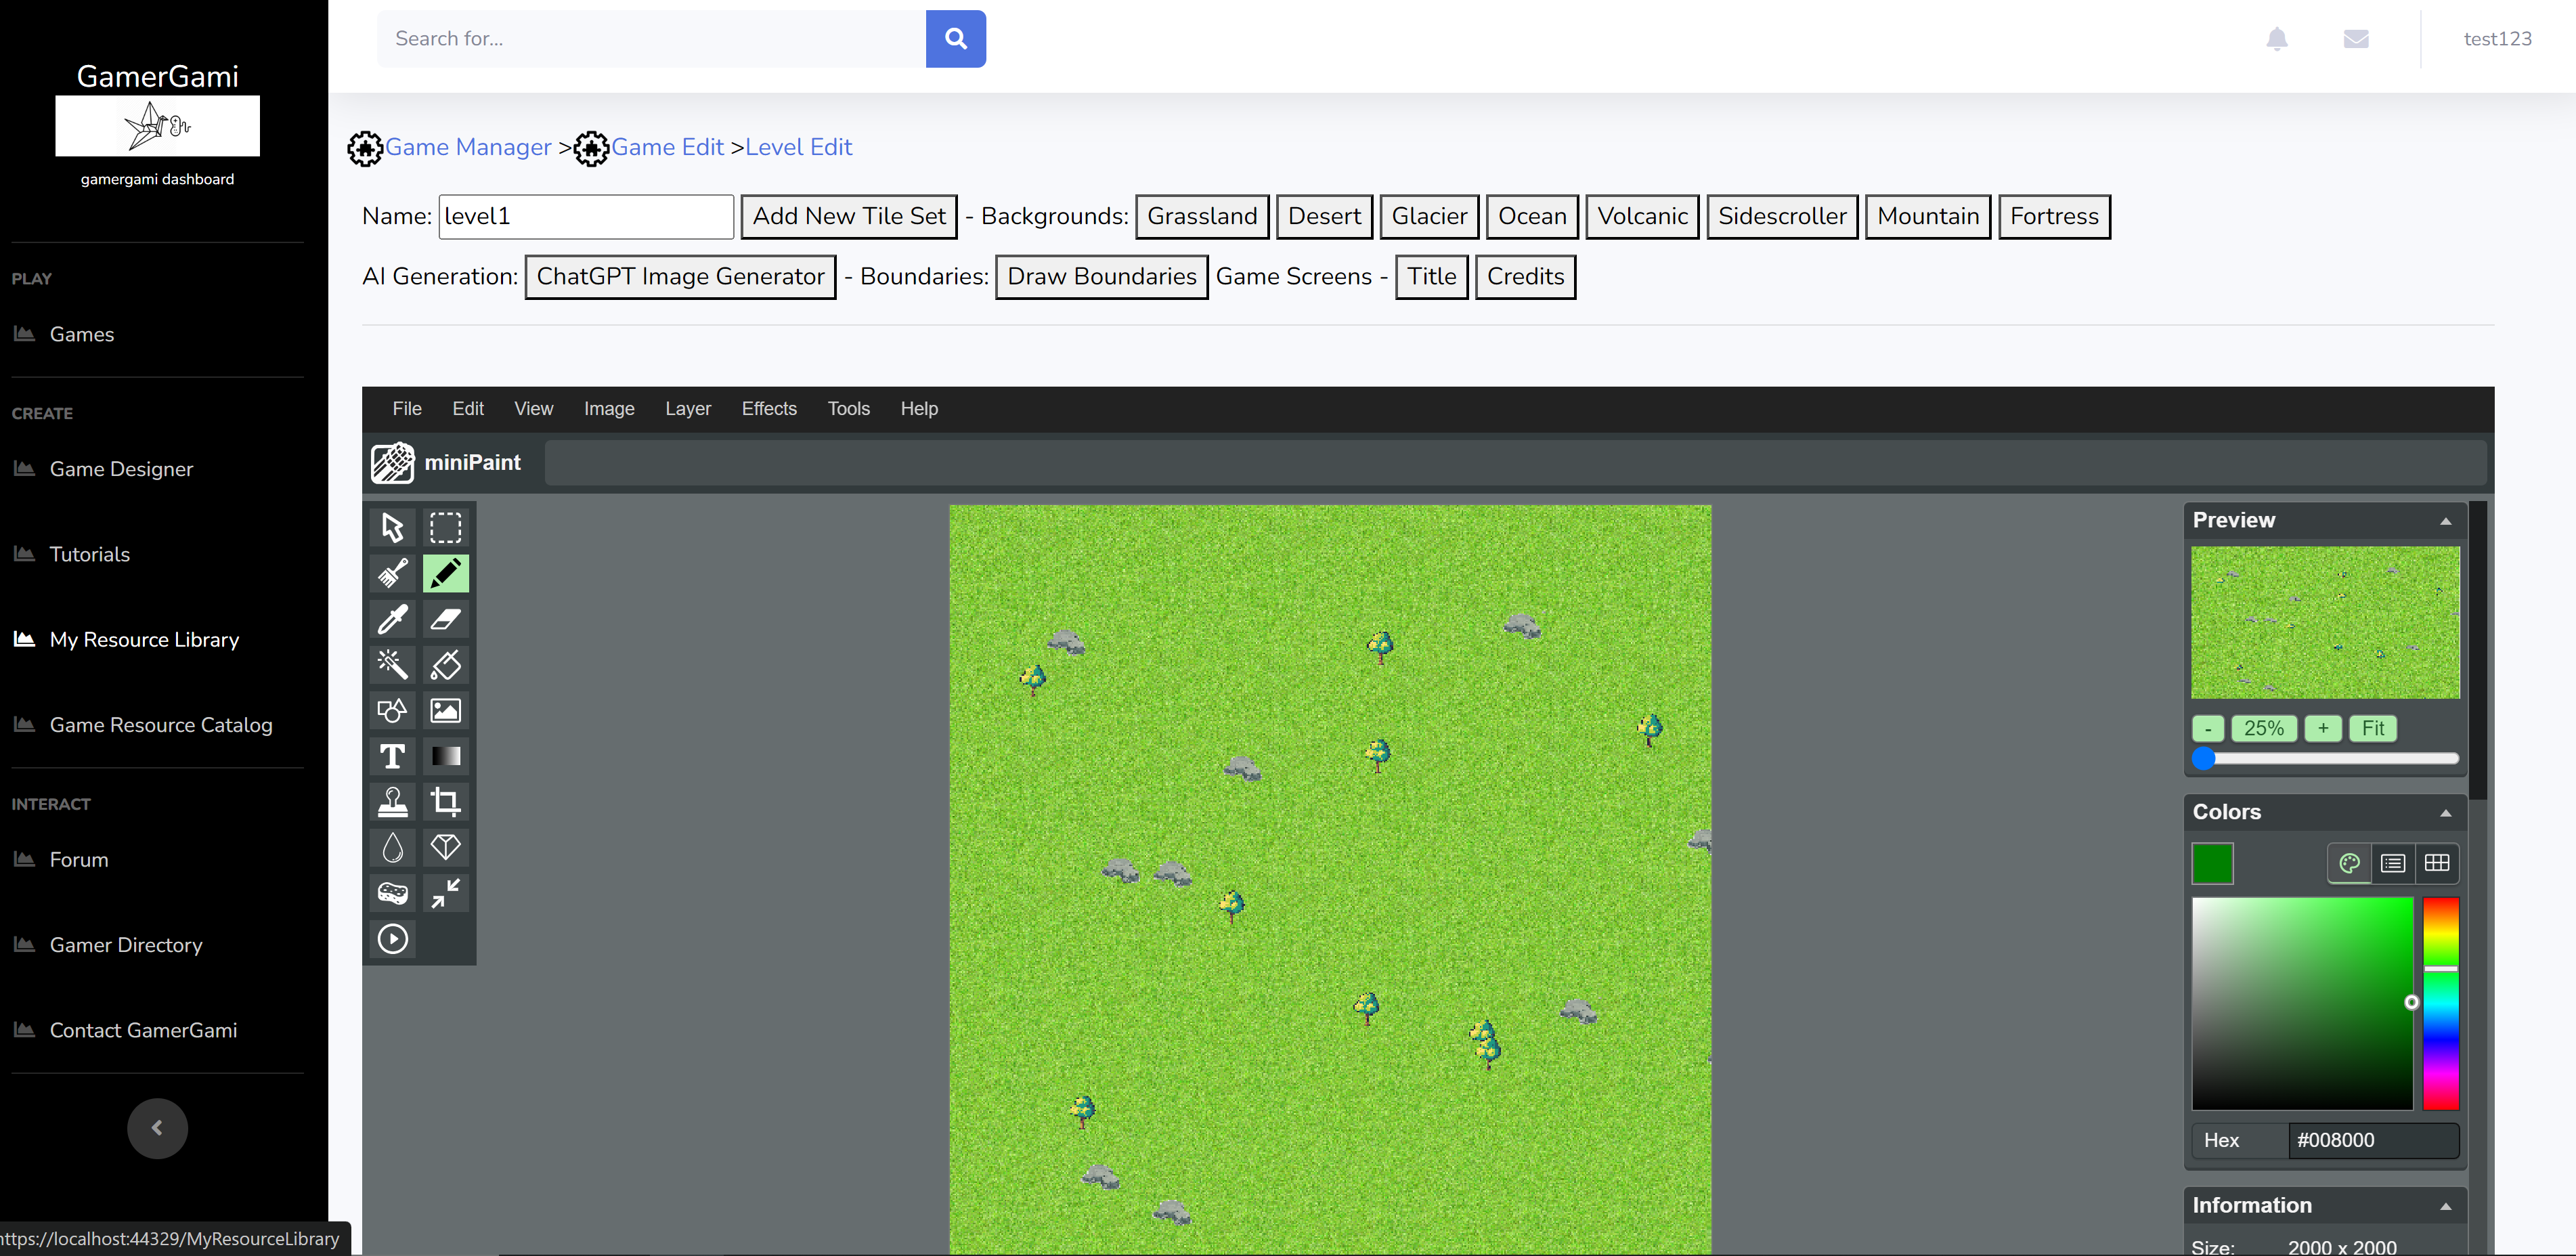 17. Exit the level editor and go back to the Game Dashboard tab 18. Check that there exists atleast a sprite, a 'playable character' game object and a level 19. On the Game Dashboard tab, click 'Play' to play your game.  20. A new window will open and the game will launch 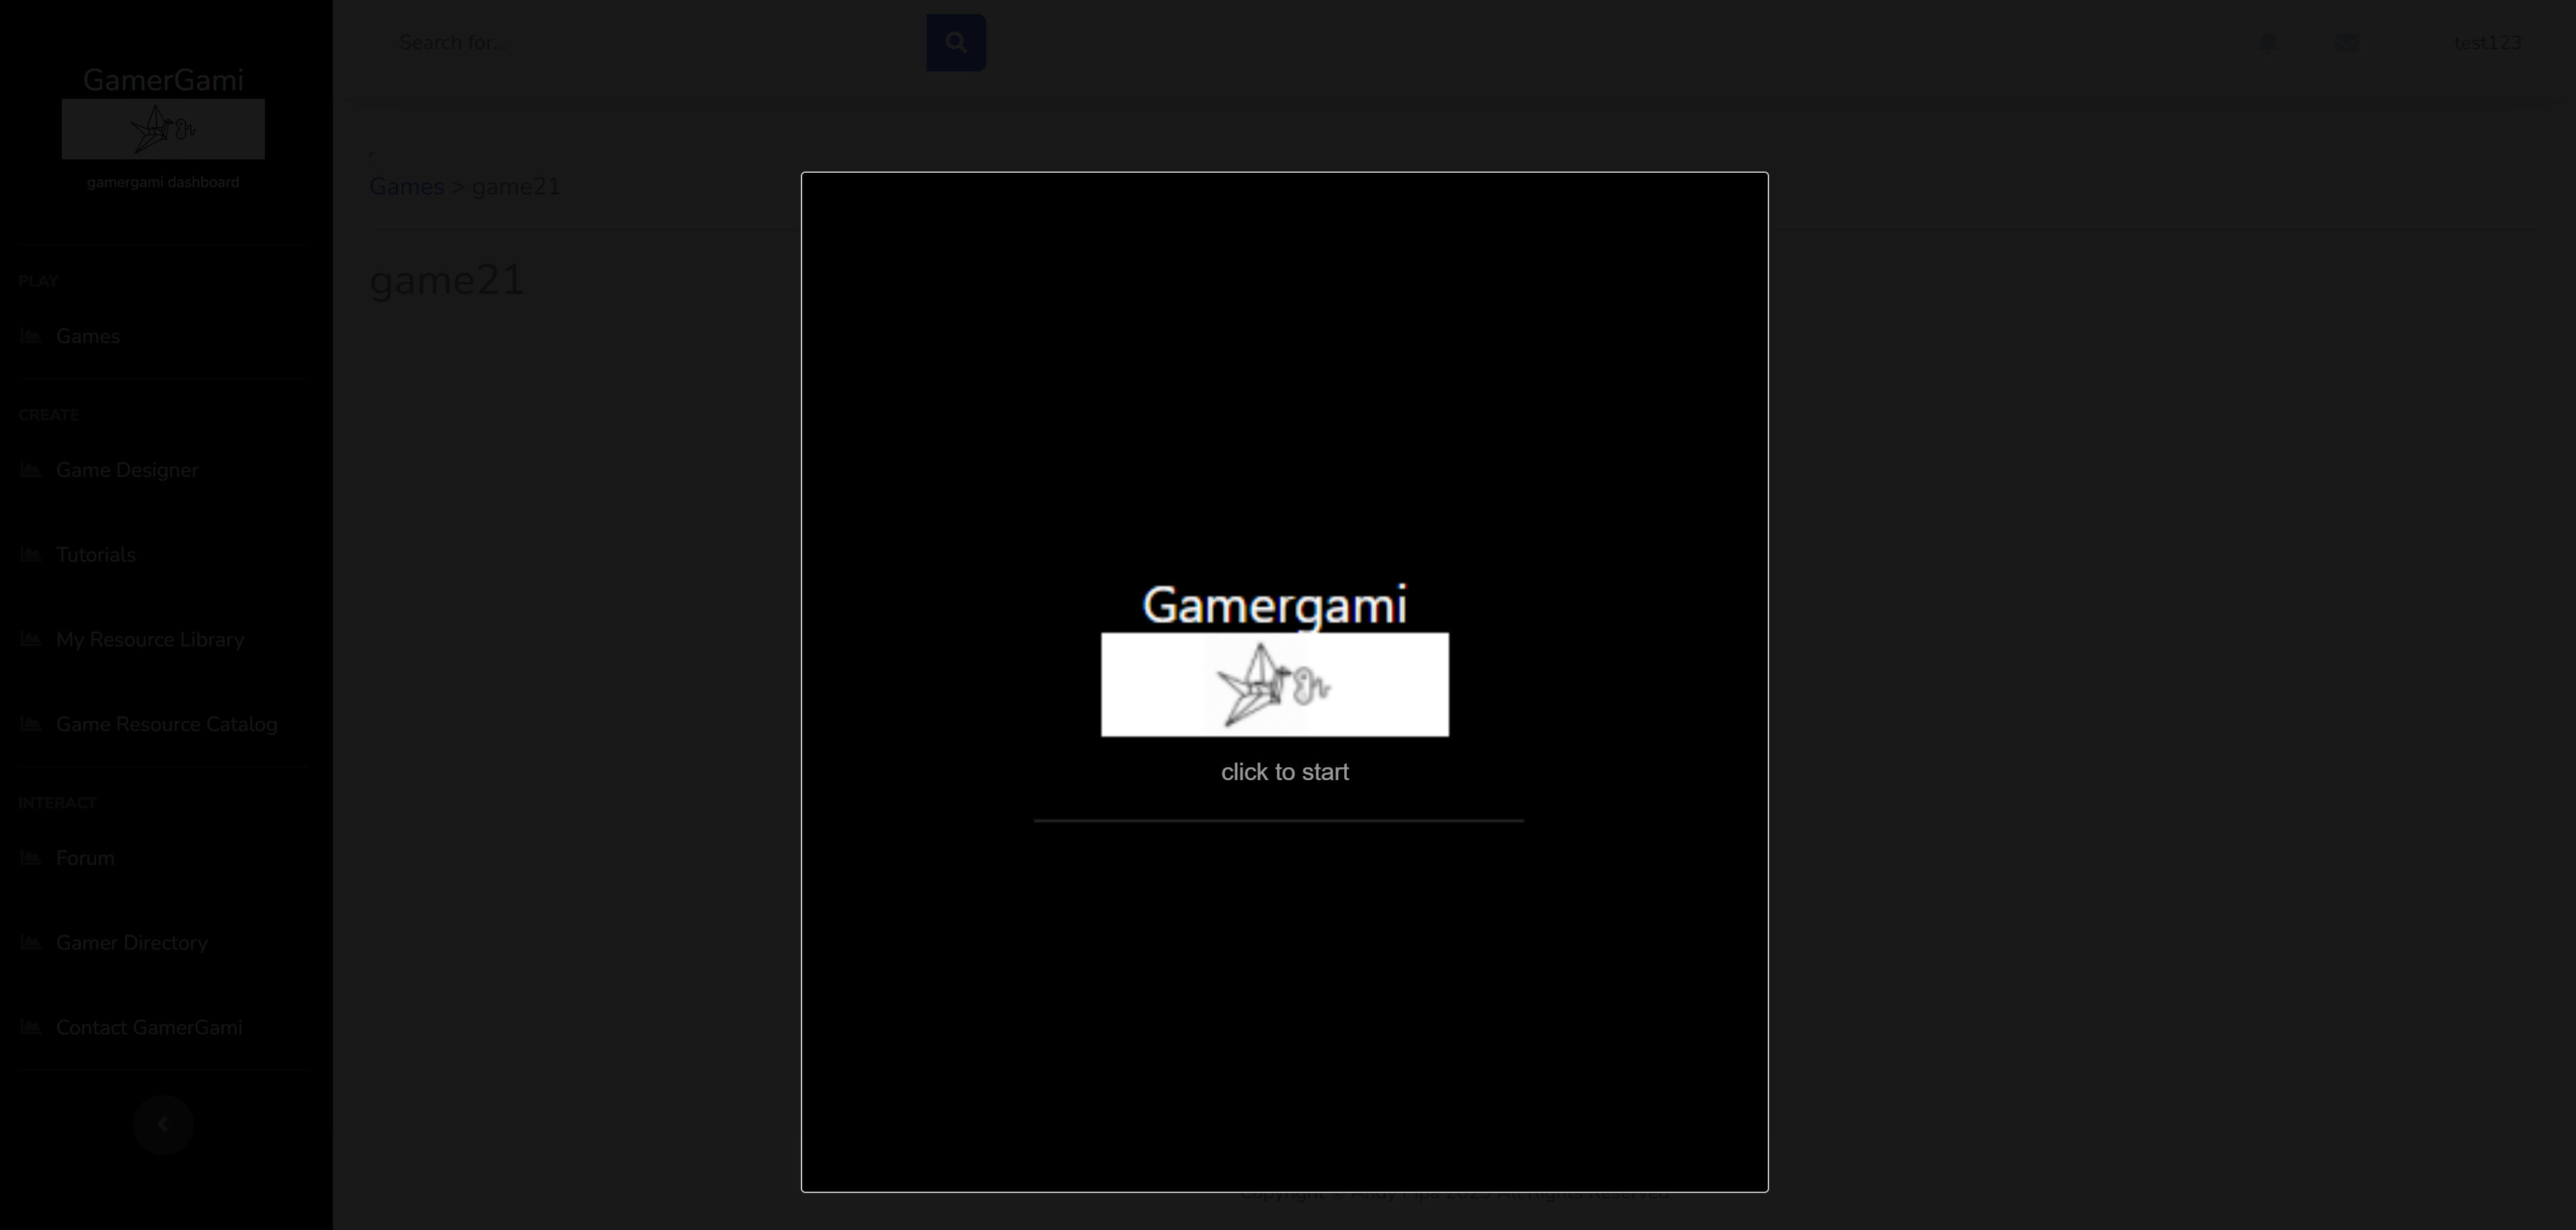 21. Click to begin and select New Game to play Controls: Enter Key - Start/Select Up Arrow - Move North Down Arrow - Move South Left Arrow - Move West Right Arrow - Move East A Key - Attack I Key - Inventory 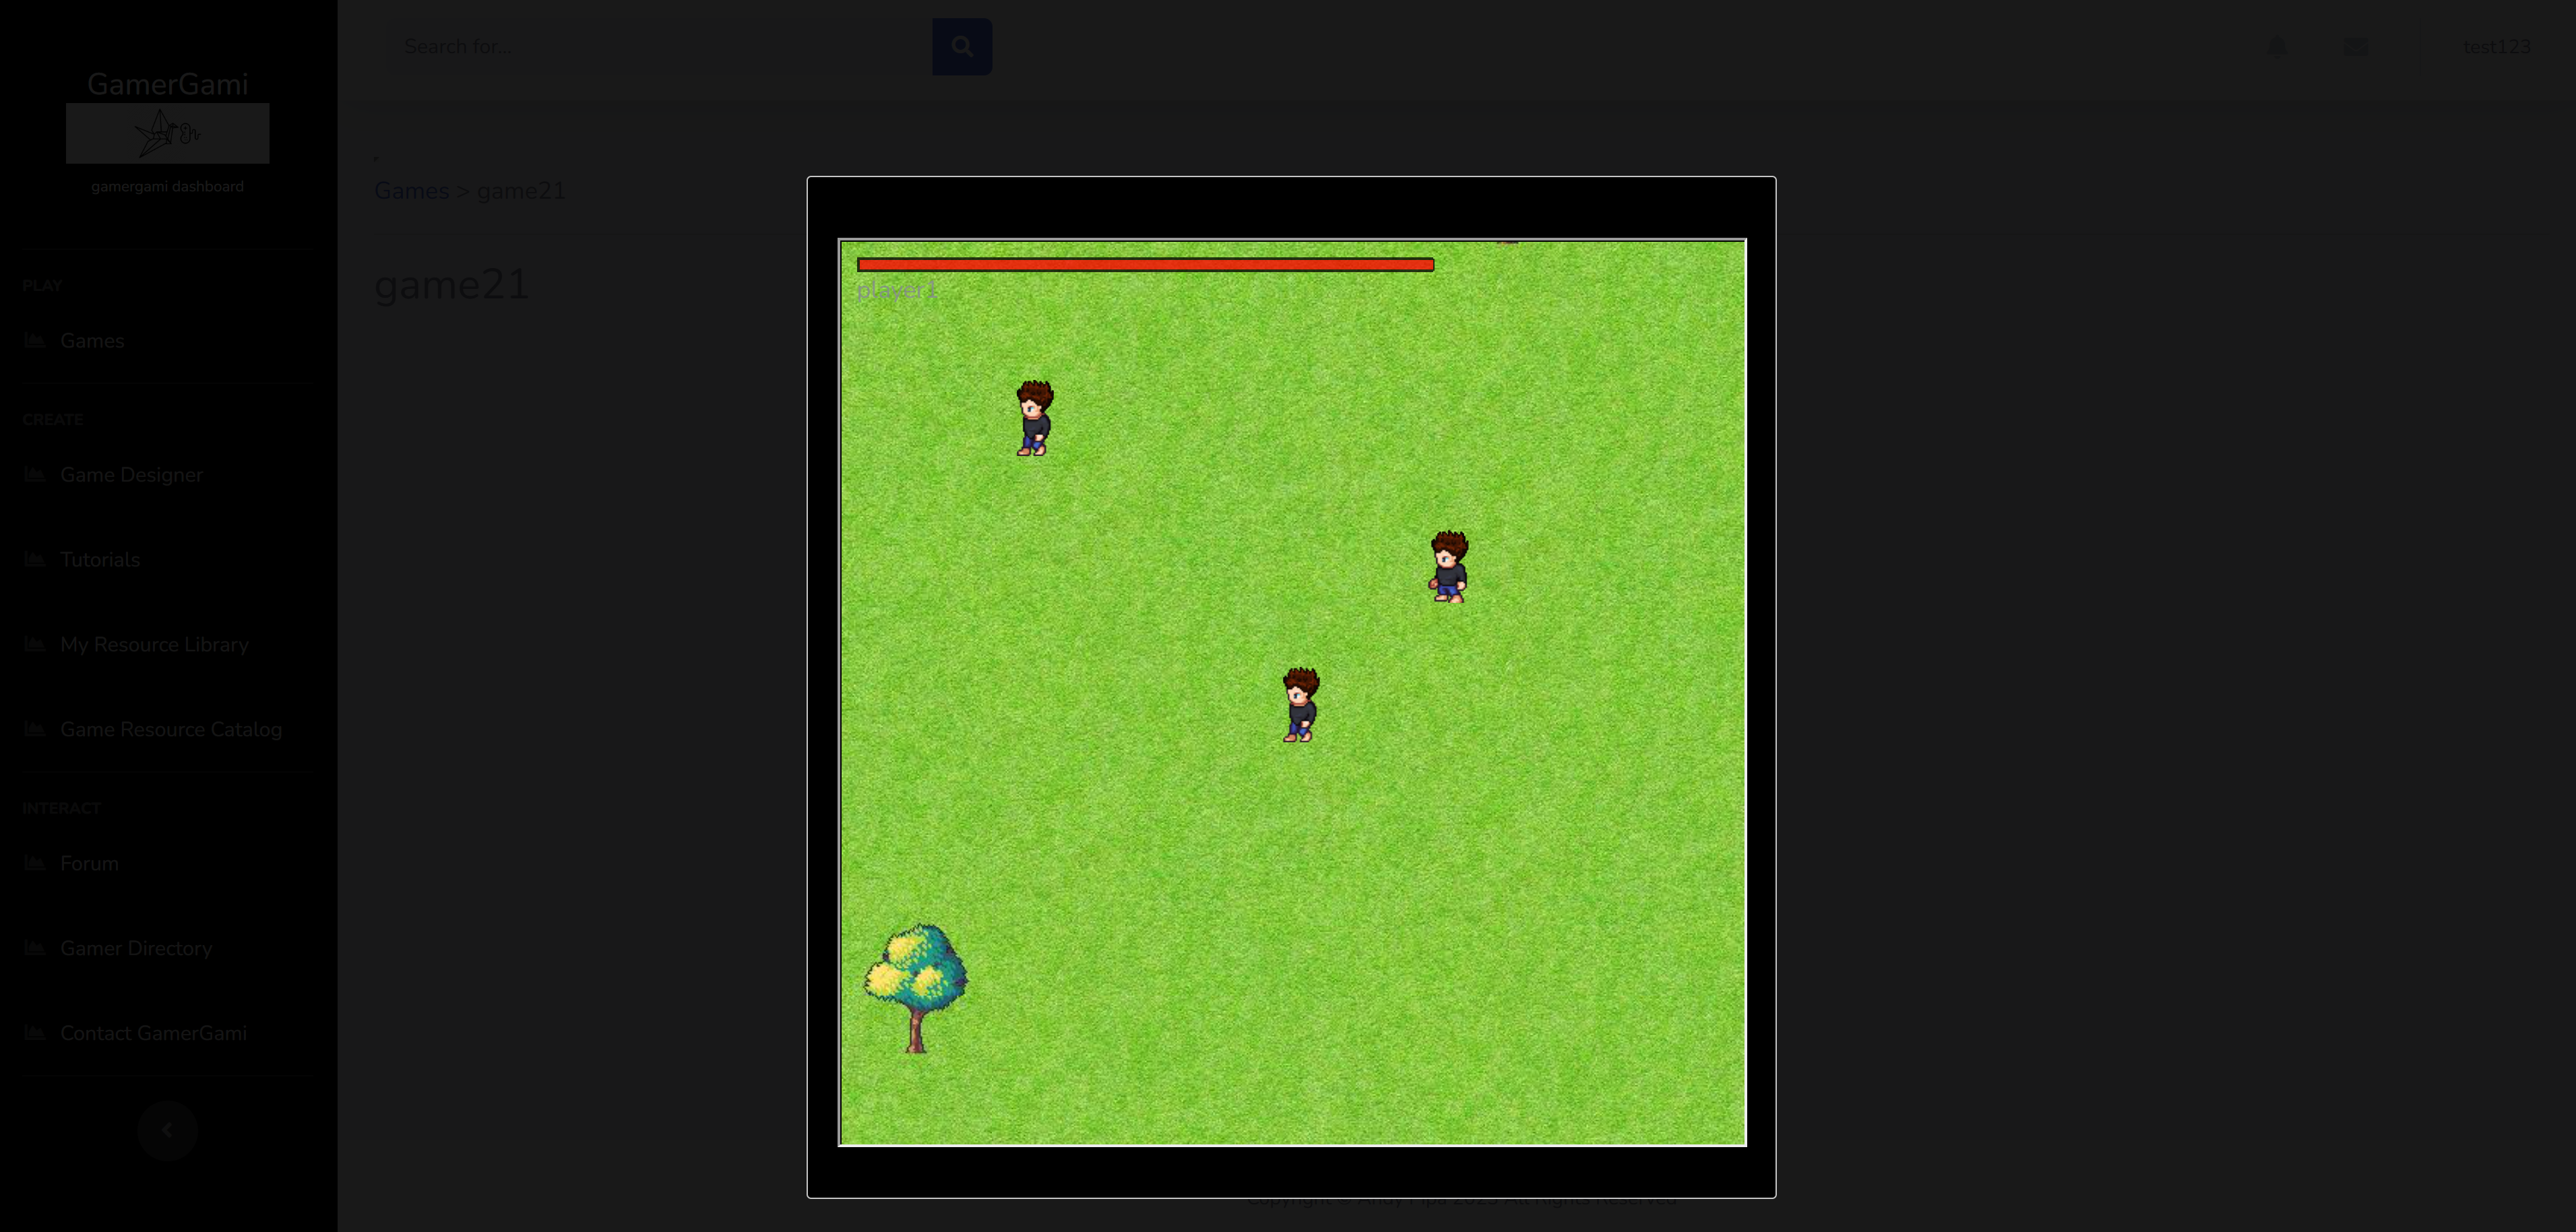 Game TemplatesFor a quick start utilzing Game Templates use the following steps: 1. Click on Game Designer in the left hand menu. 2. Click on 'Build from Game Template' link 3. The template import window will open, select a game template to use for your game 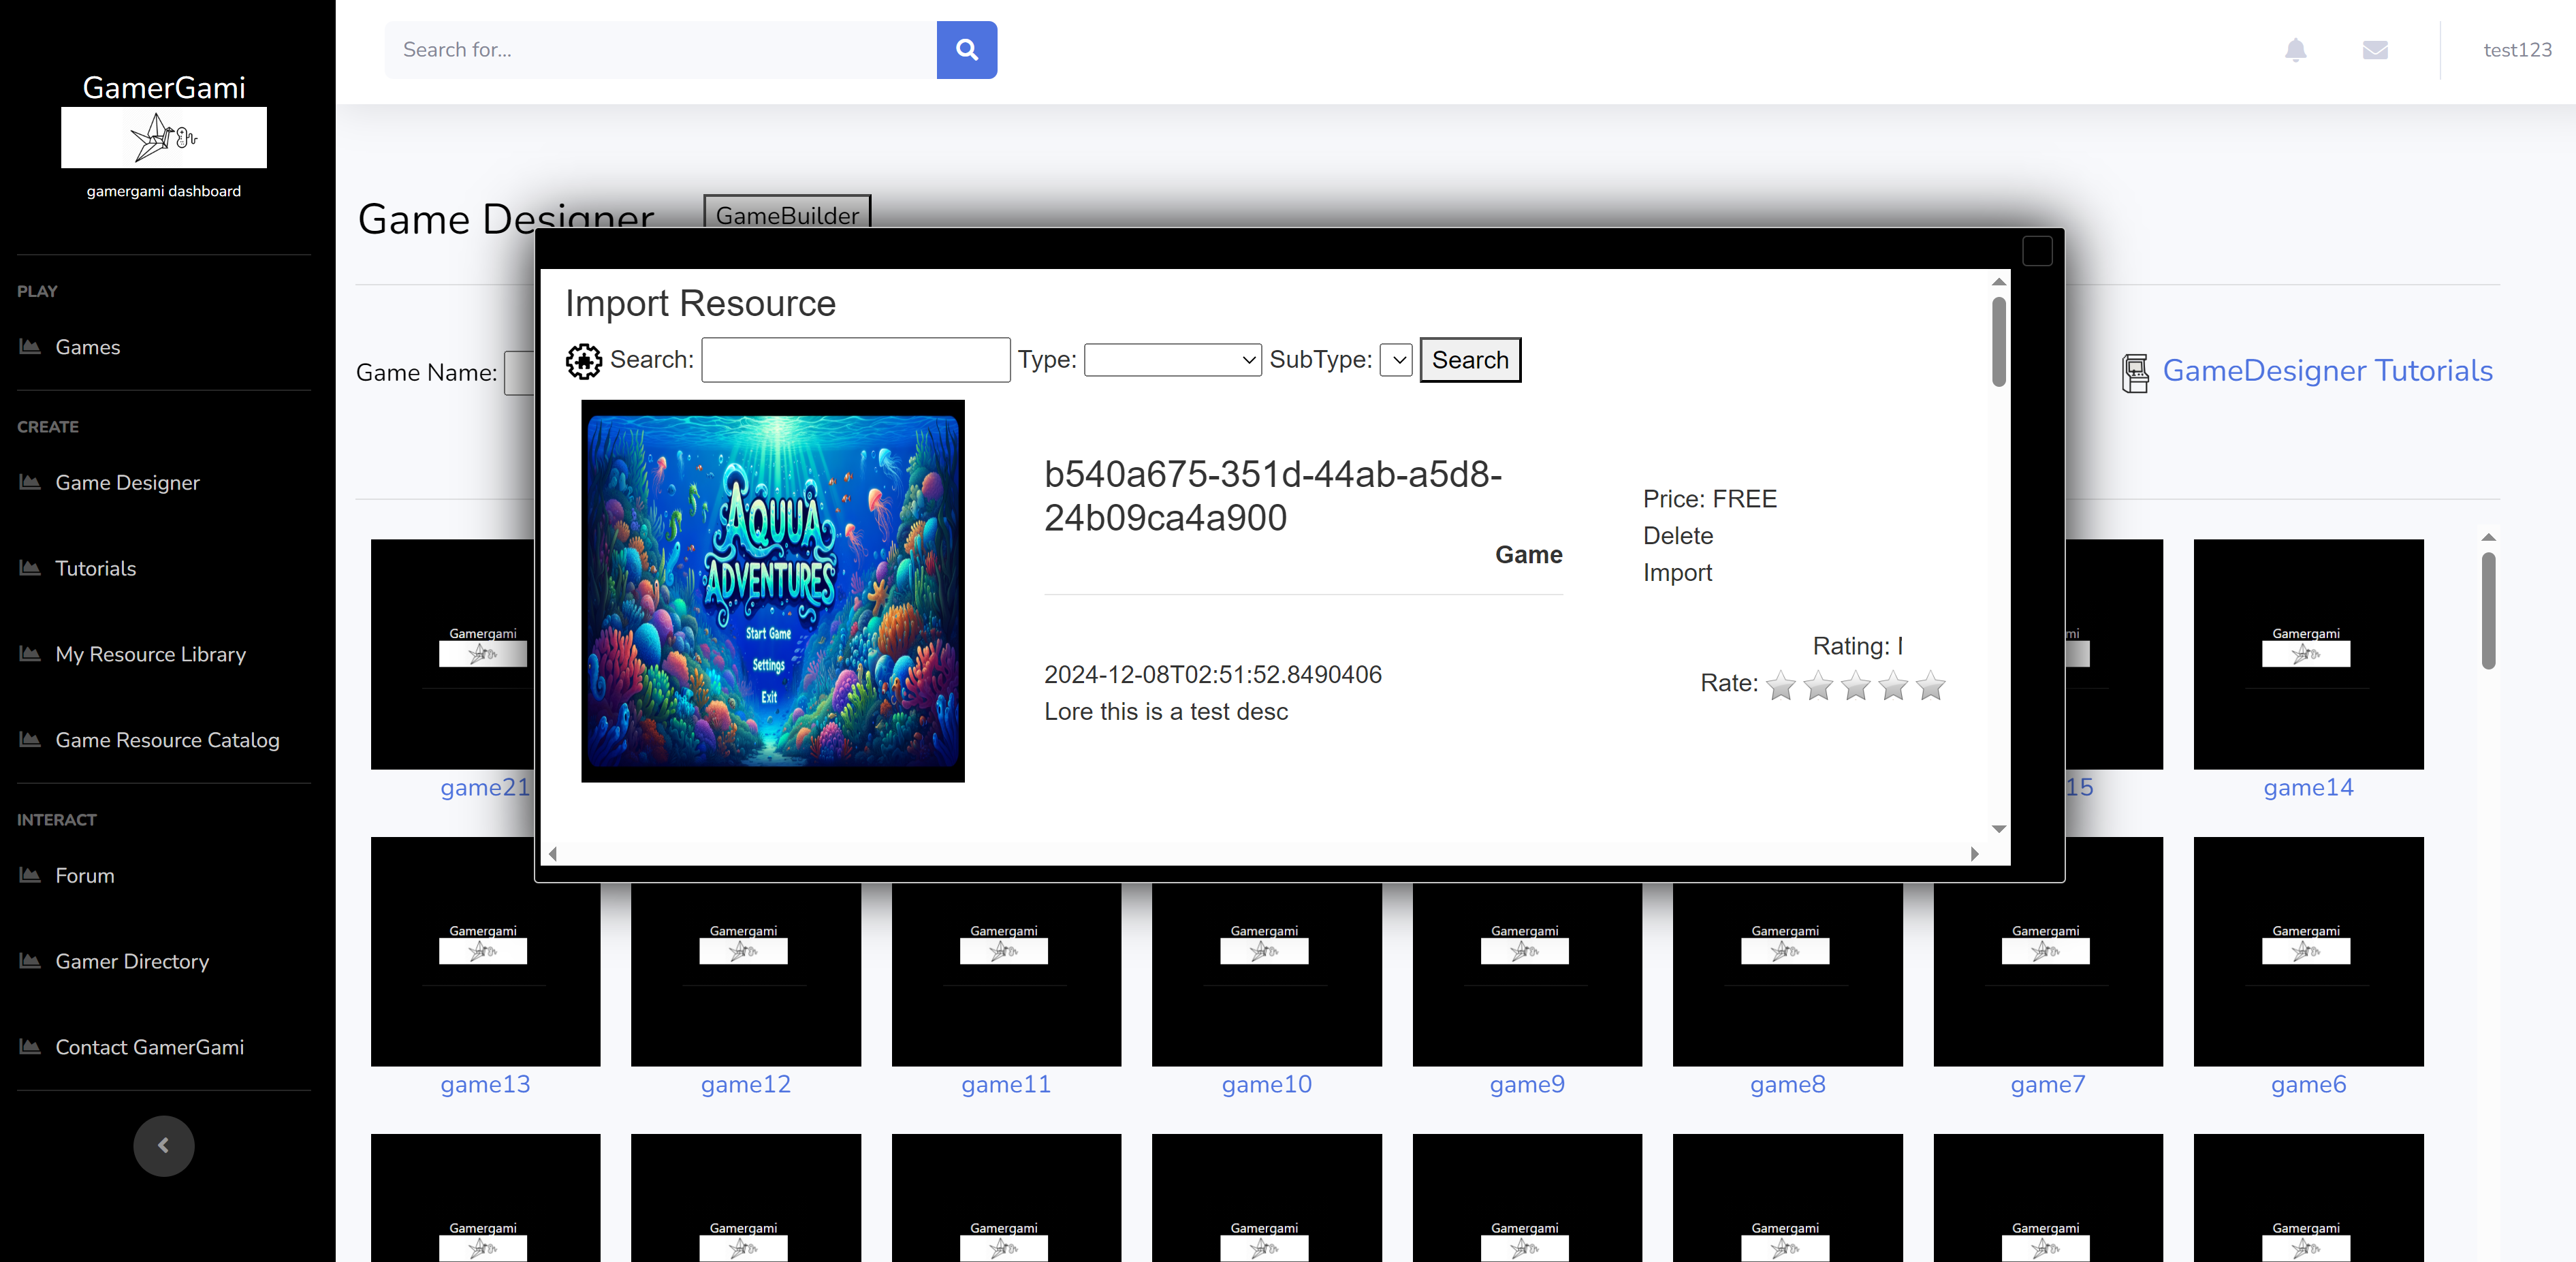 4. Once the template import completes, you can click on your game in the listing to enter Game Editor 5. Check that there exists atleast a sprite, a 'playable character' game object and a level 6. On the Game Dashboard tab, click 'Play' to play your game 7. A new window will open and the game will launch 8. Click to begin and select New Game to play Controls: Enter Key - Start/Select Up Arrow - Move North Down Arrow - Move South Left Arrow - Move West Right Arrow - Move East A Key - Attack I Key - Inventory 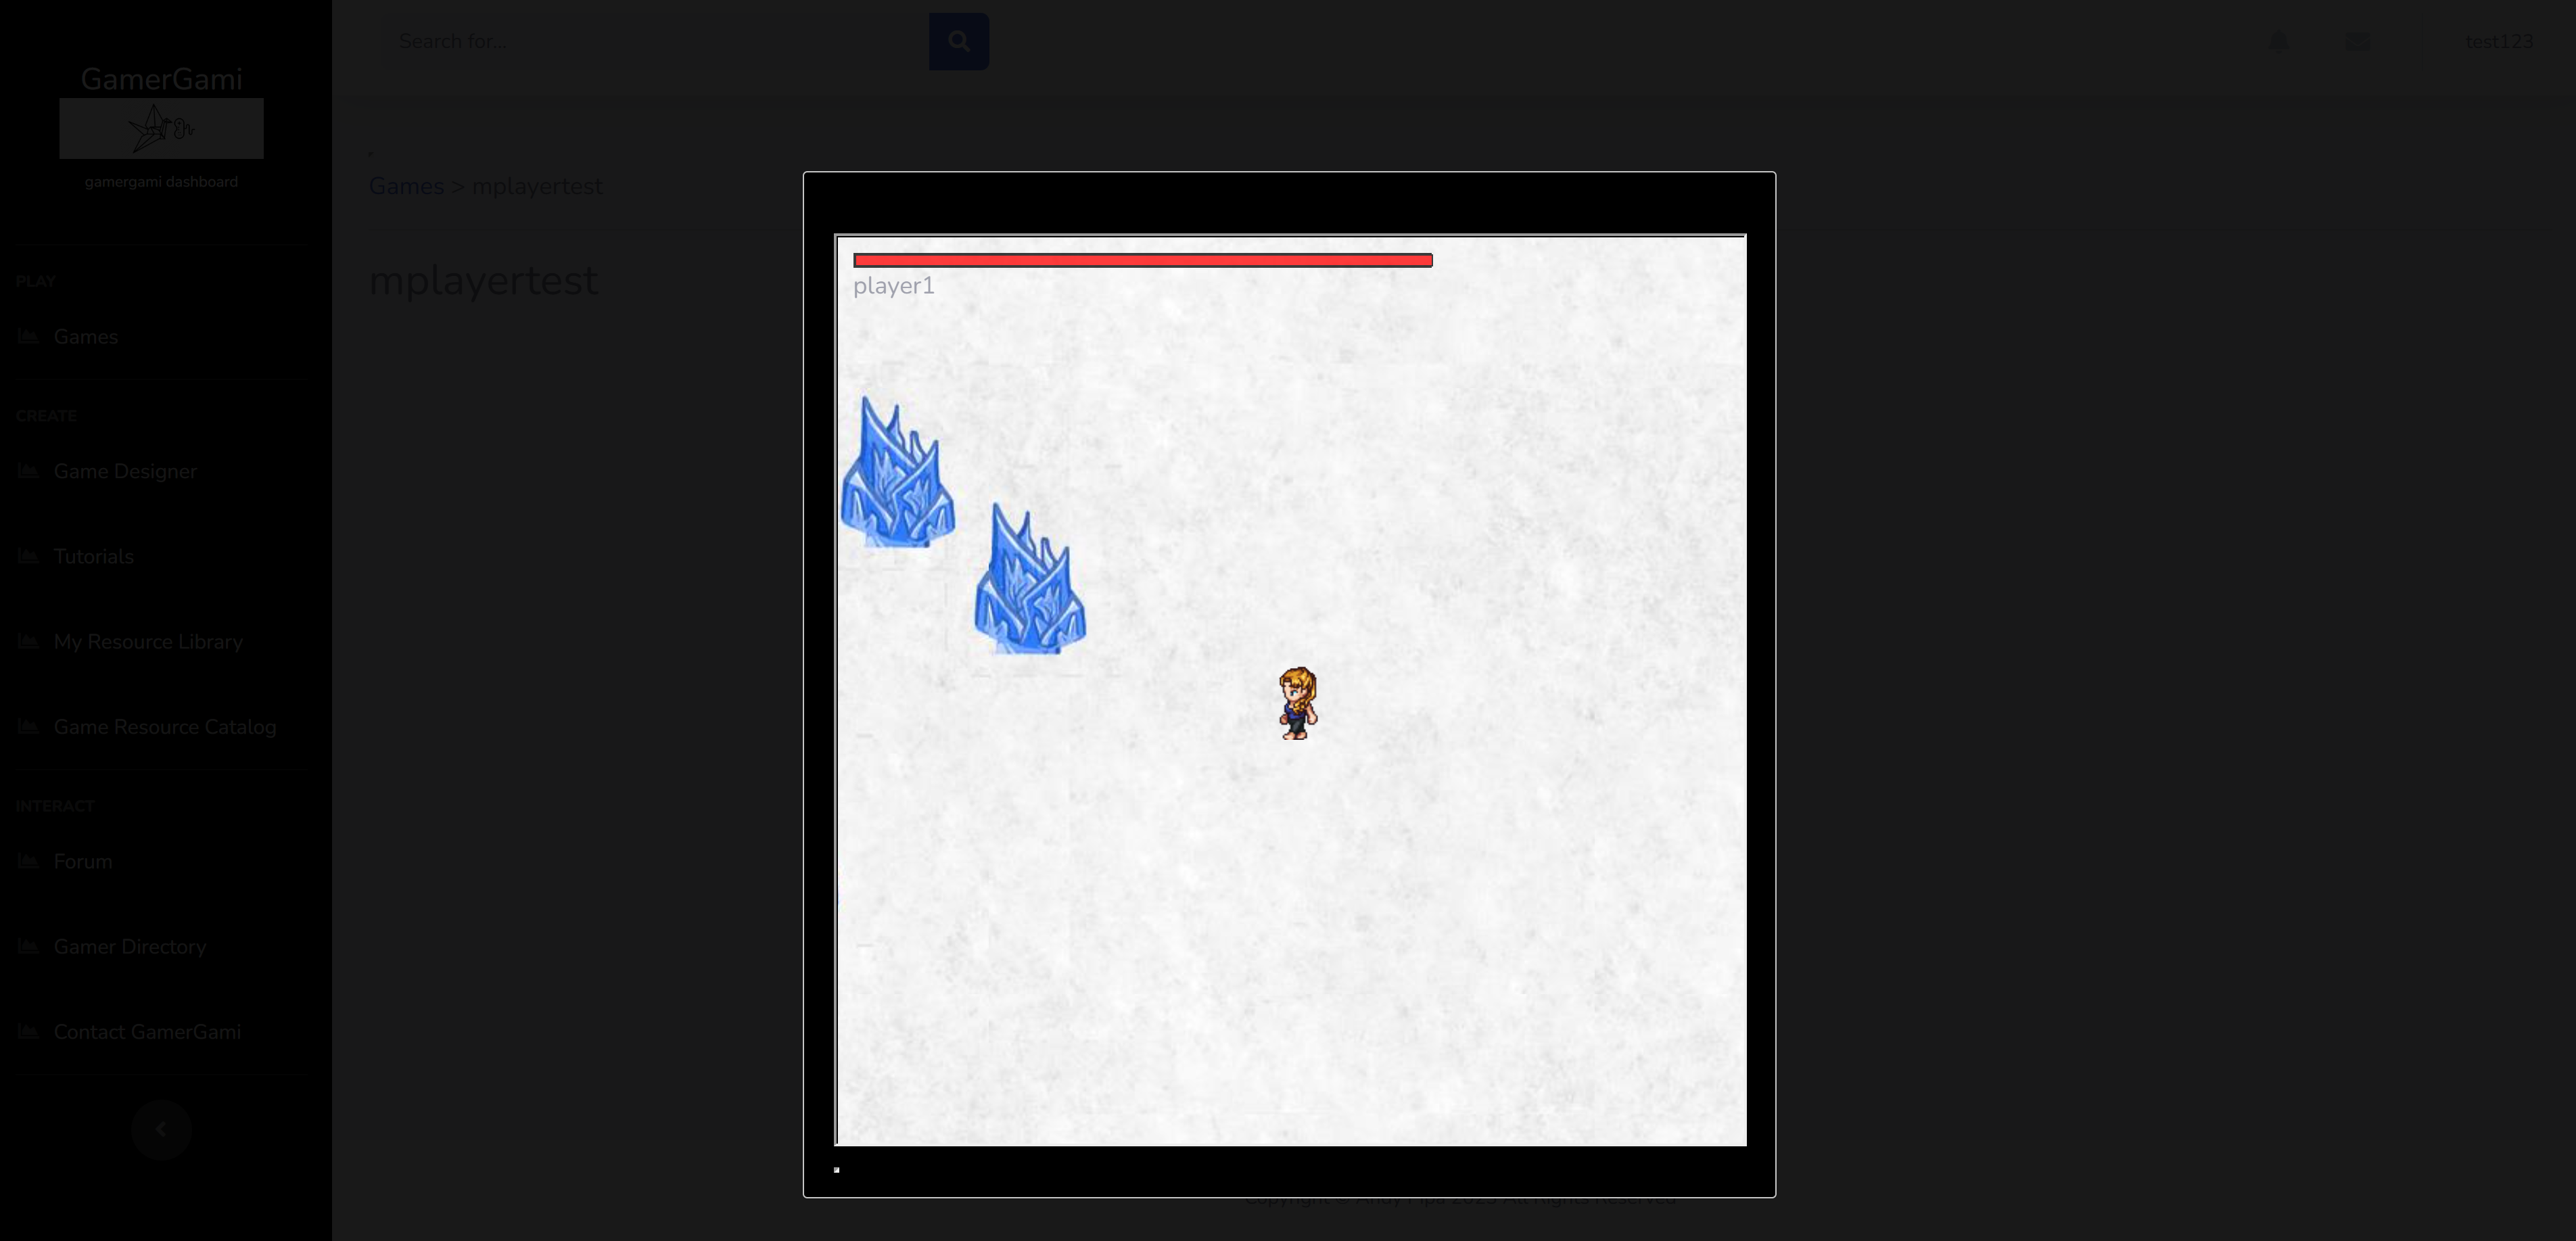 Game BuilderFor a quick start utilzing Game Builder use the following steps: 1. Click on Game Designer in the left hand menu. 2. Click on the 'GameBuilder' button to open Game Builder 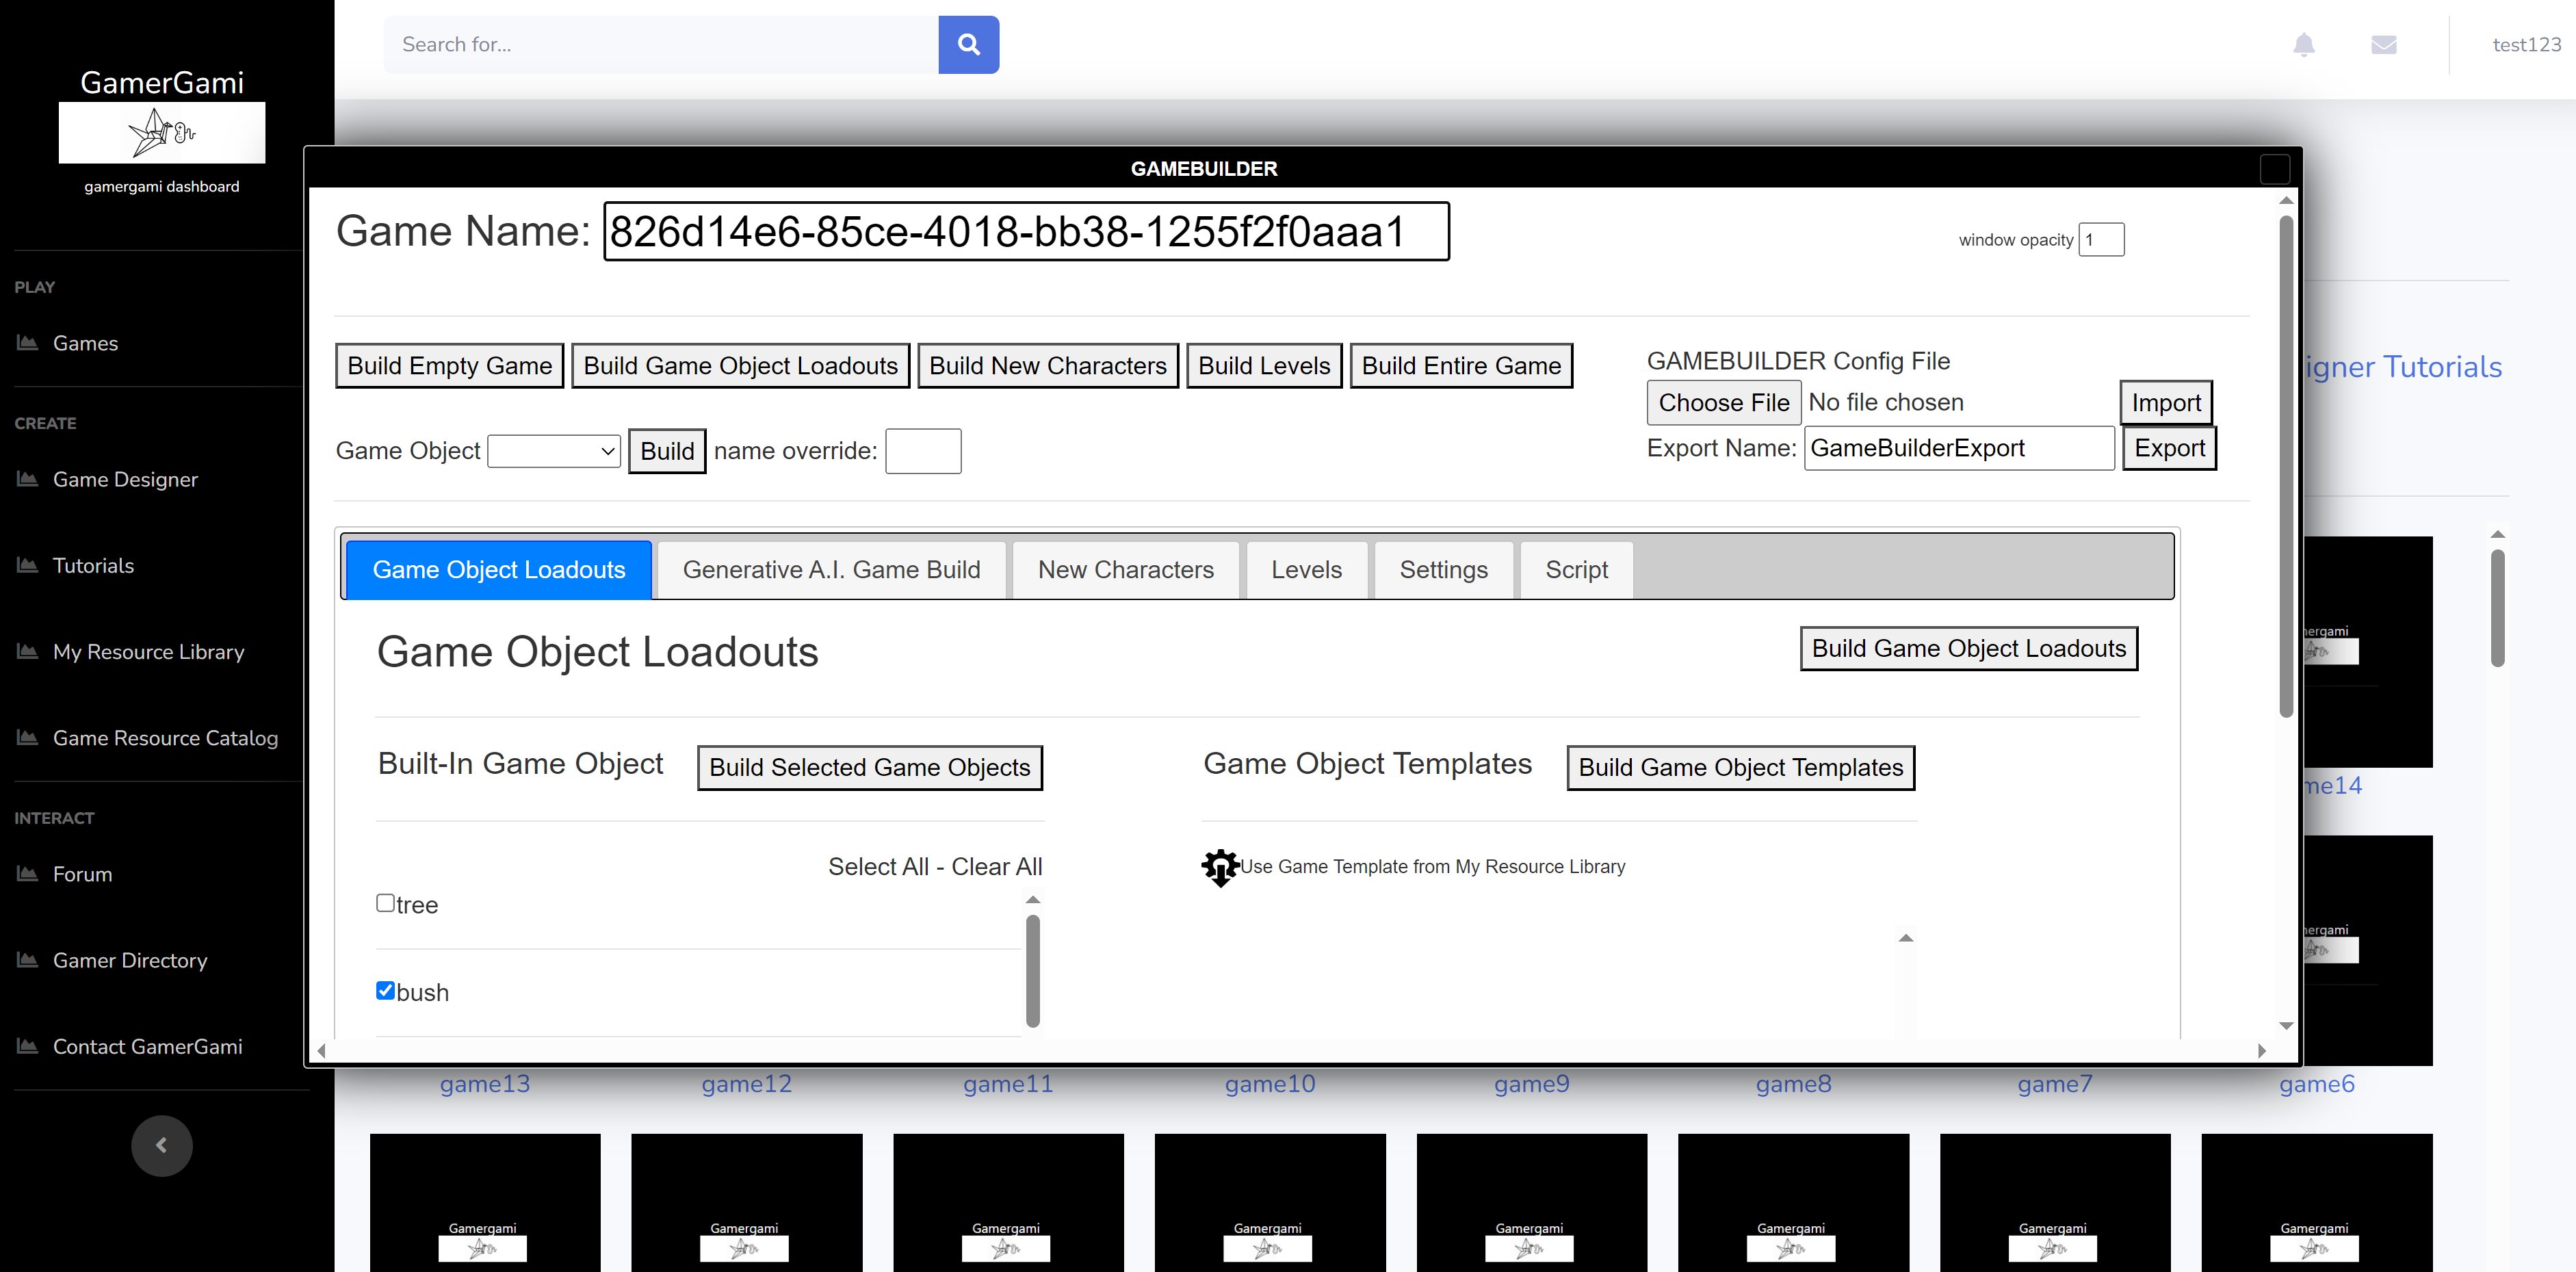 3. In Game Builder, there are tabs for each autobuild feature: Built-In Game Objects, Character Designer, Level Designer, and Generative AI Game Builder 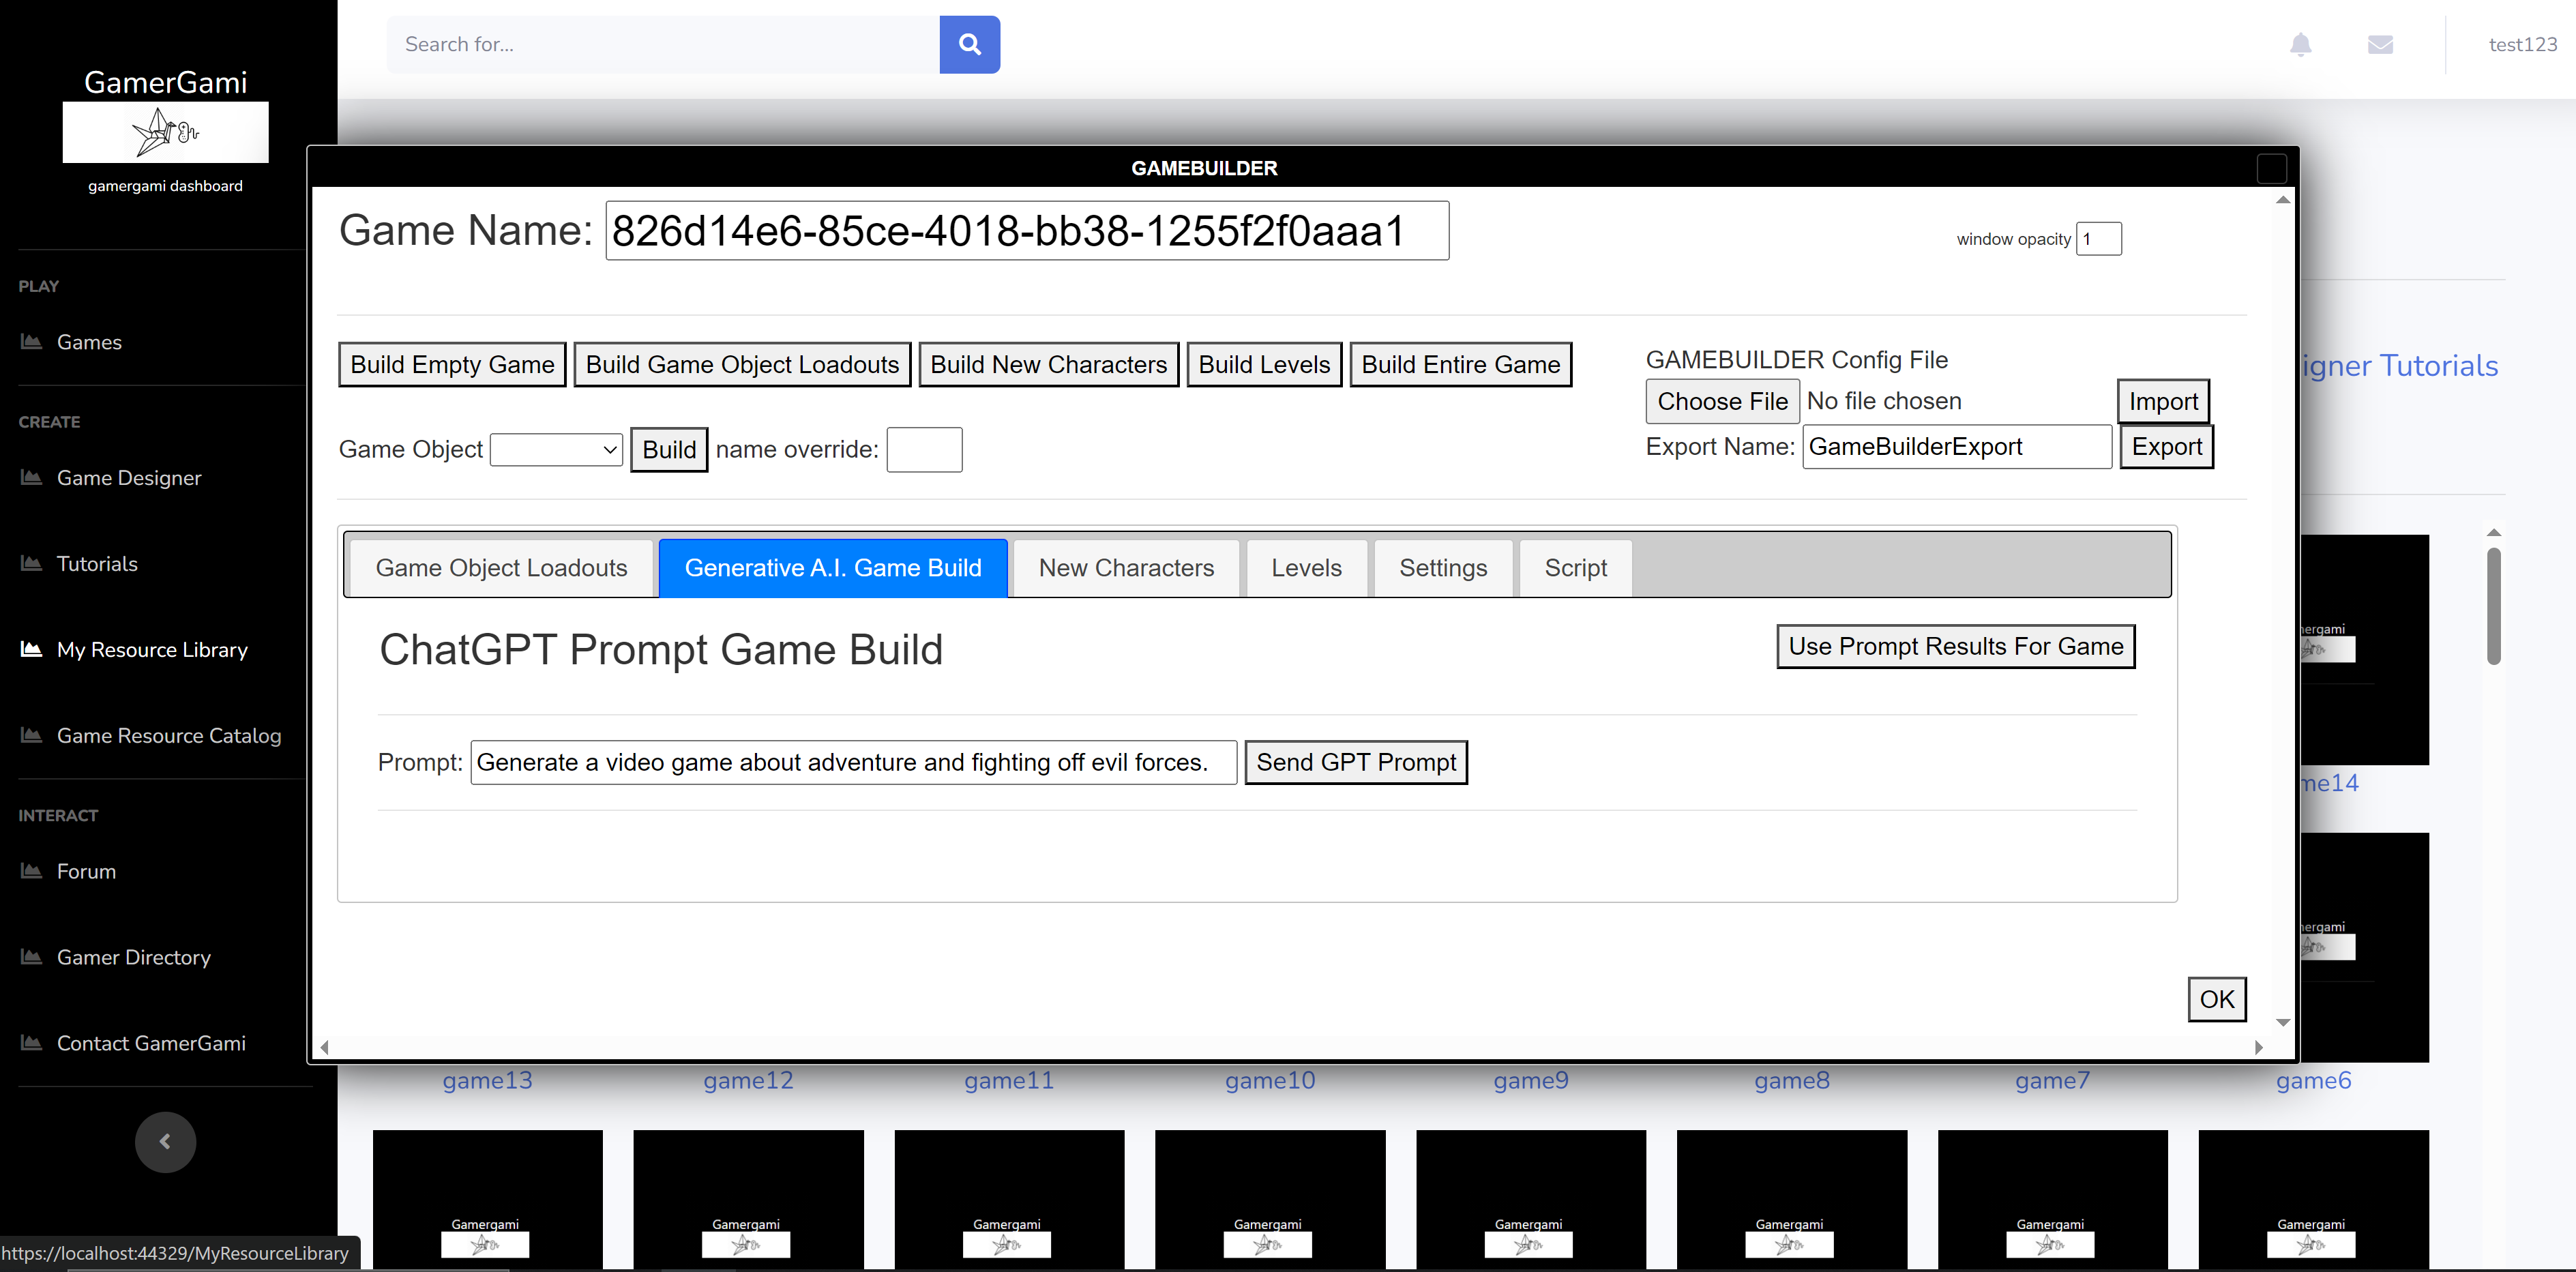 4. The Generative AI allows you to input a prompt and it will create a game narrative and character designs automatically. It will populate the character designs and level designs automatically if you choose to accept the prompt result.  5. On the Character tab, there is a built in Universal LPC Sprite Sheet Character Generator tool that allows easy creation of character designs. 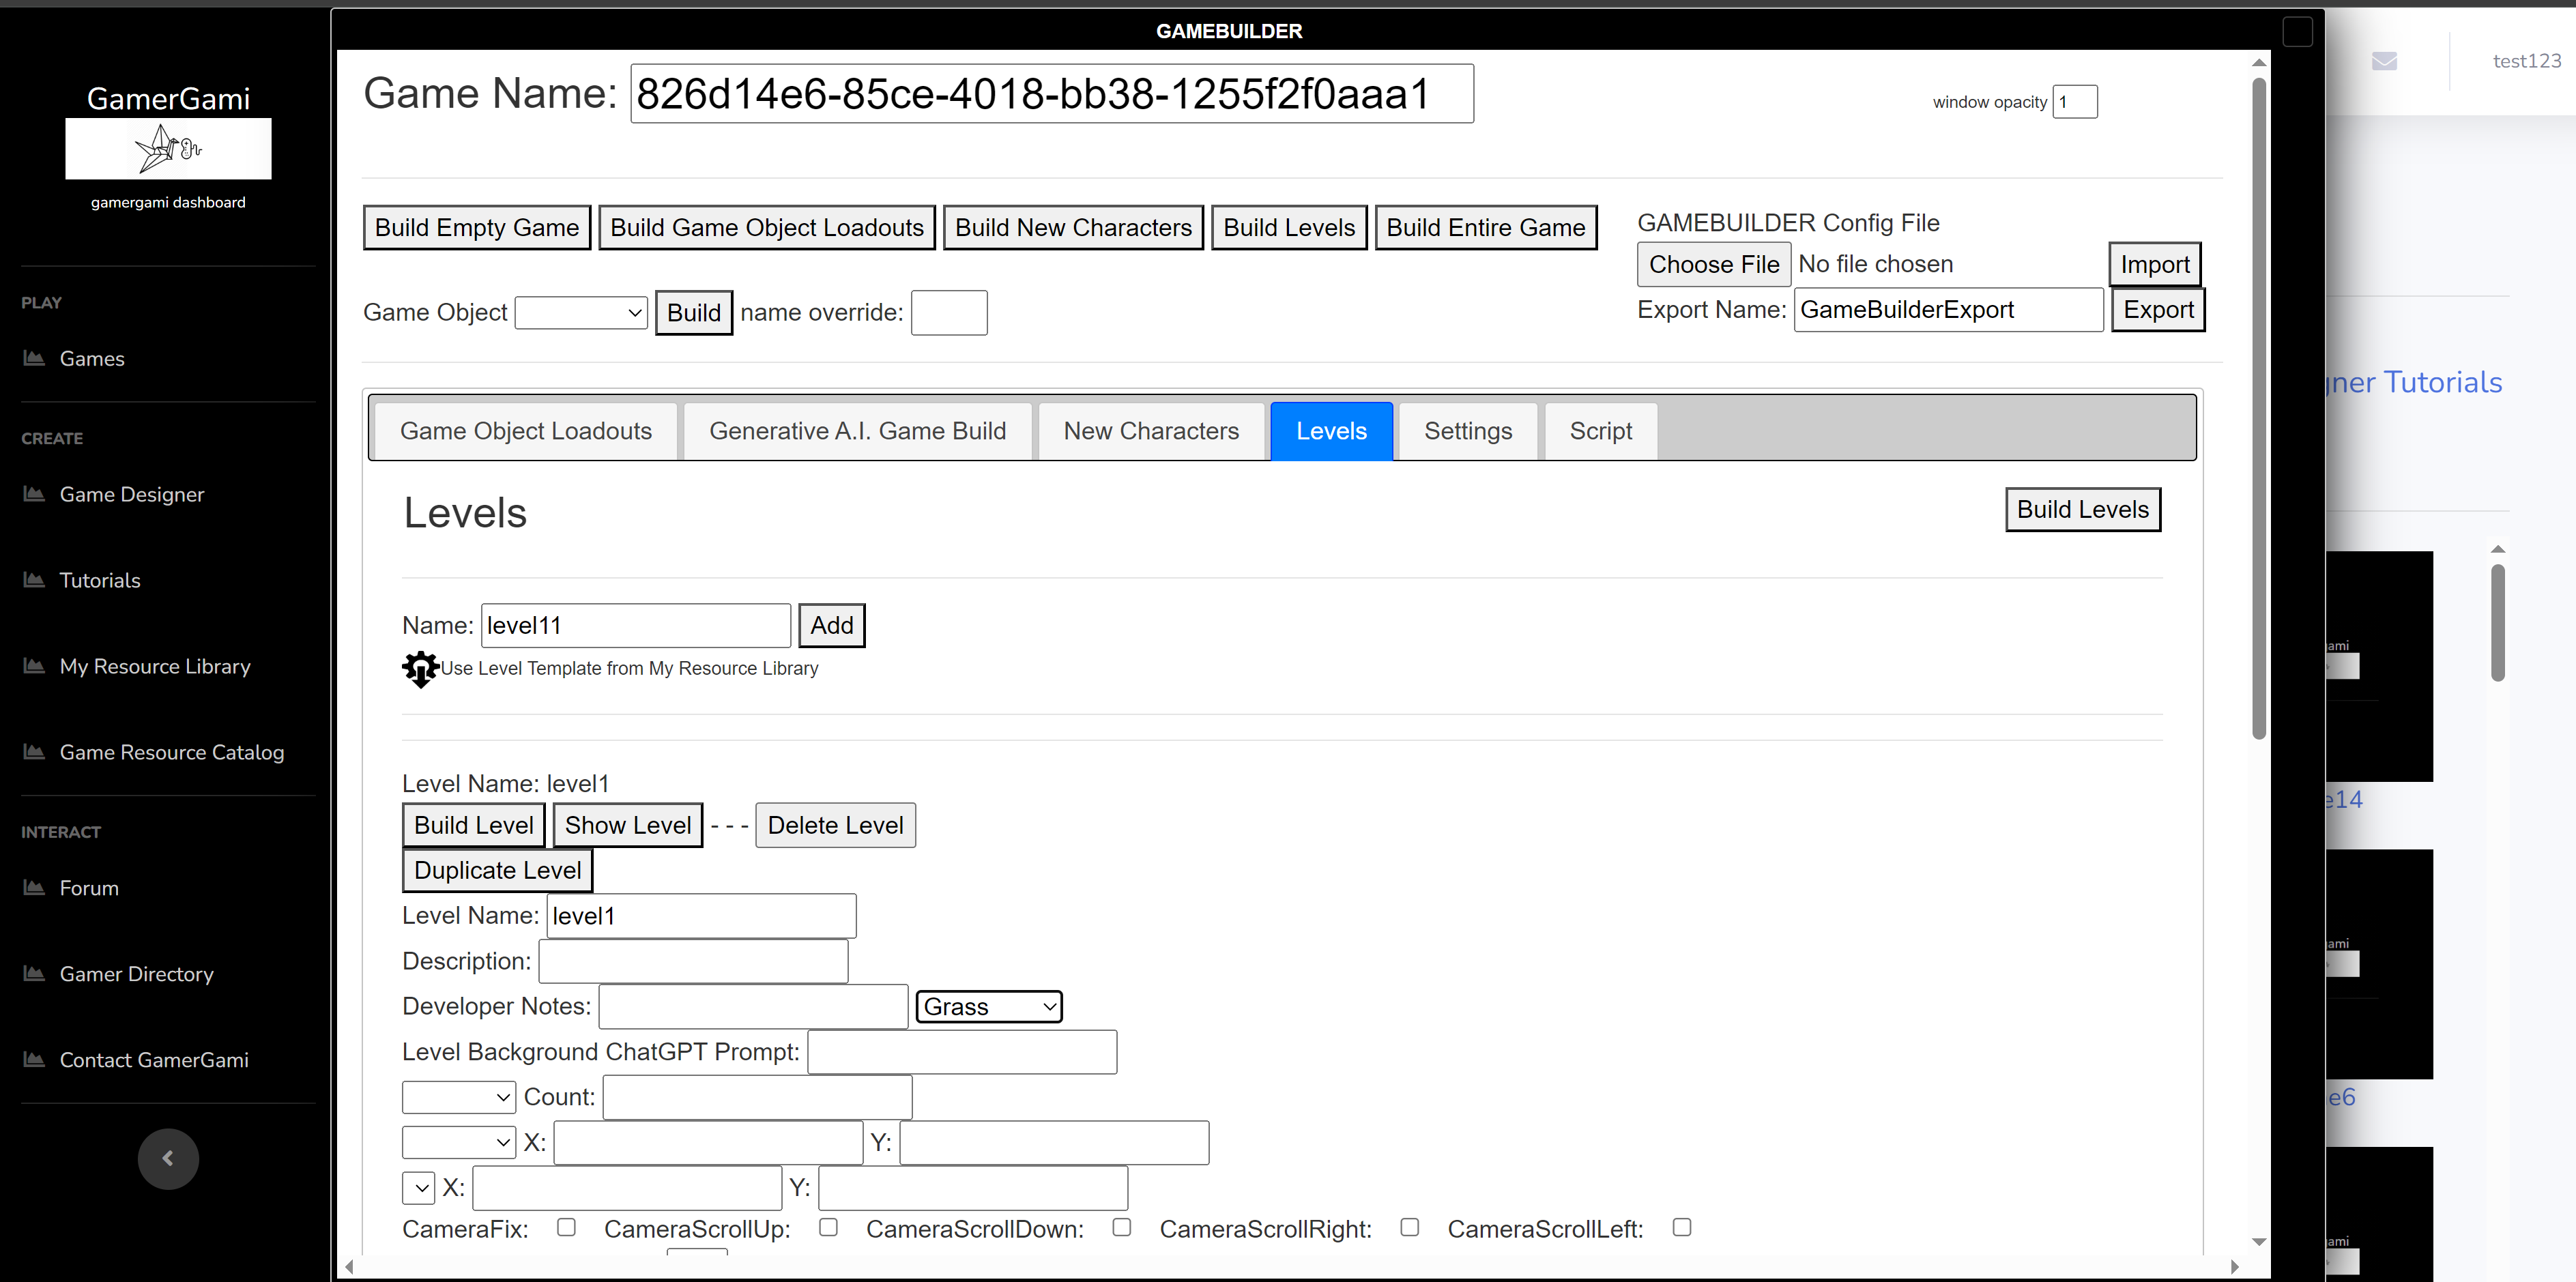 6. The Level tab allows for level design creation. Select a background, build game rooms, populate it with enemies. 7. Once you have the settings in the tabs complete for your game. Click "Build Game" to create a blank game, then click "Build Characters" and "Build Levels" to build your game. 8. It will take some time, but you should see Game Builder building your game in the Game Editor 9. Once complete, check that there exists atleast a sprite, a 'playable character' game object and a level 10. On the Game Dashboard tab, click 'Play' to play your game 11. A new window will open and the game will launch 12. Click to begin and select New Game to play Controls: Enter Key - Start/Select Up Arrow - Move North Down Arrow - Move South Left Arrow - Move West Right Arrow - Move East A Key - Attack I Key - Inventory 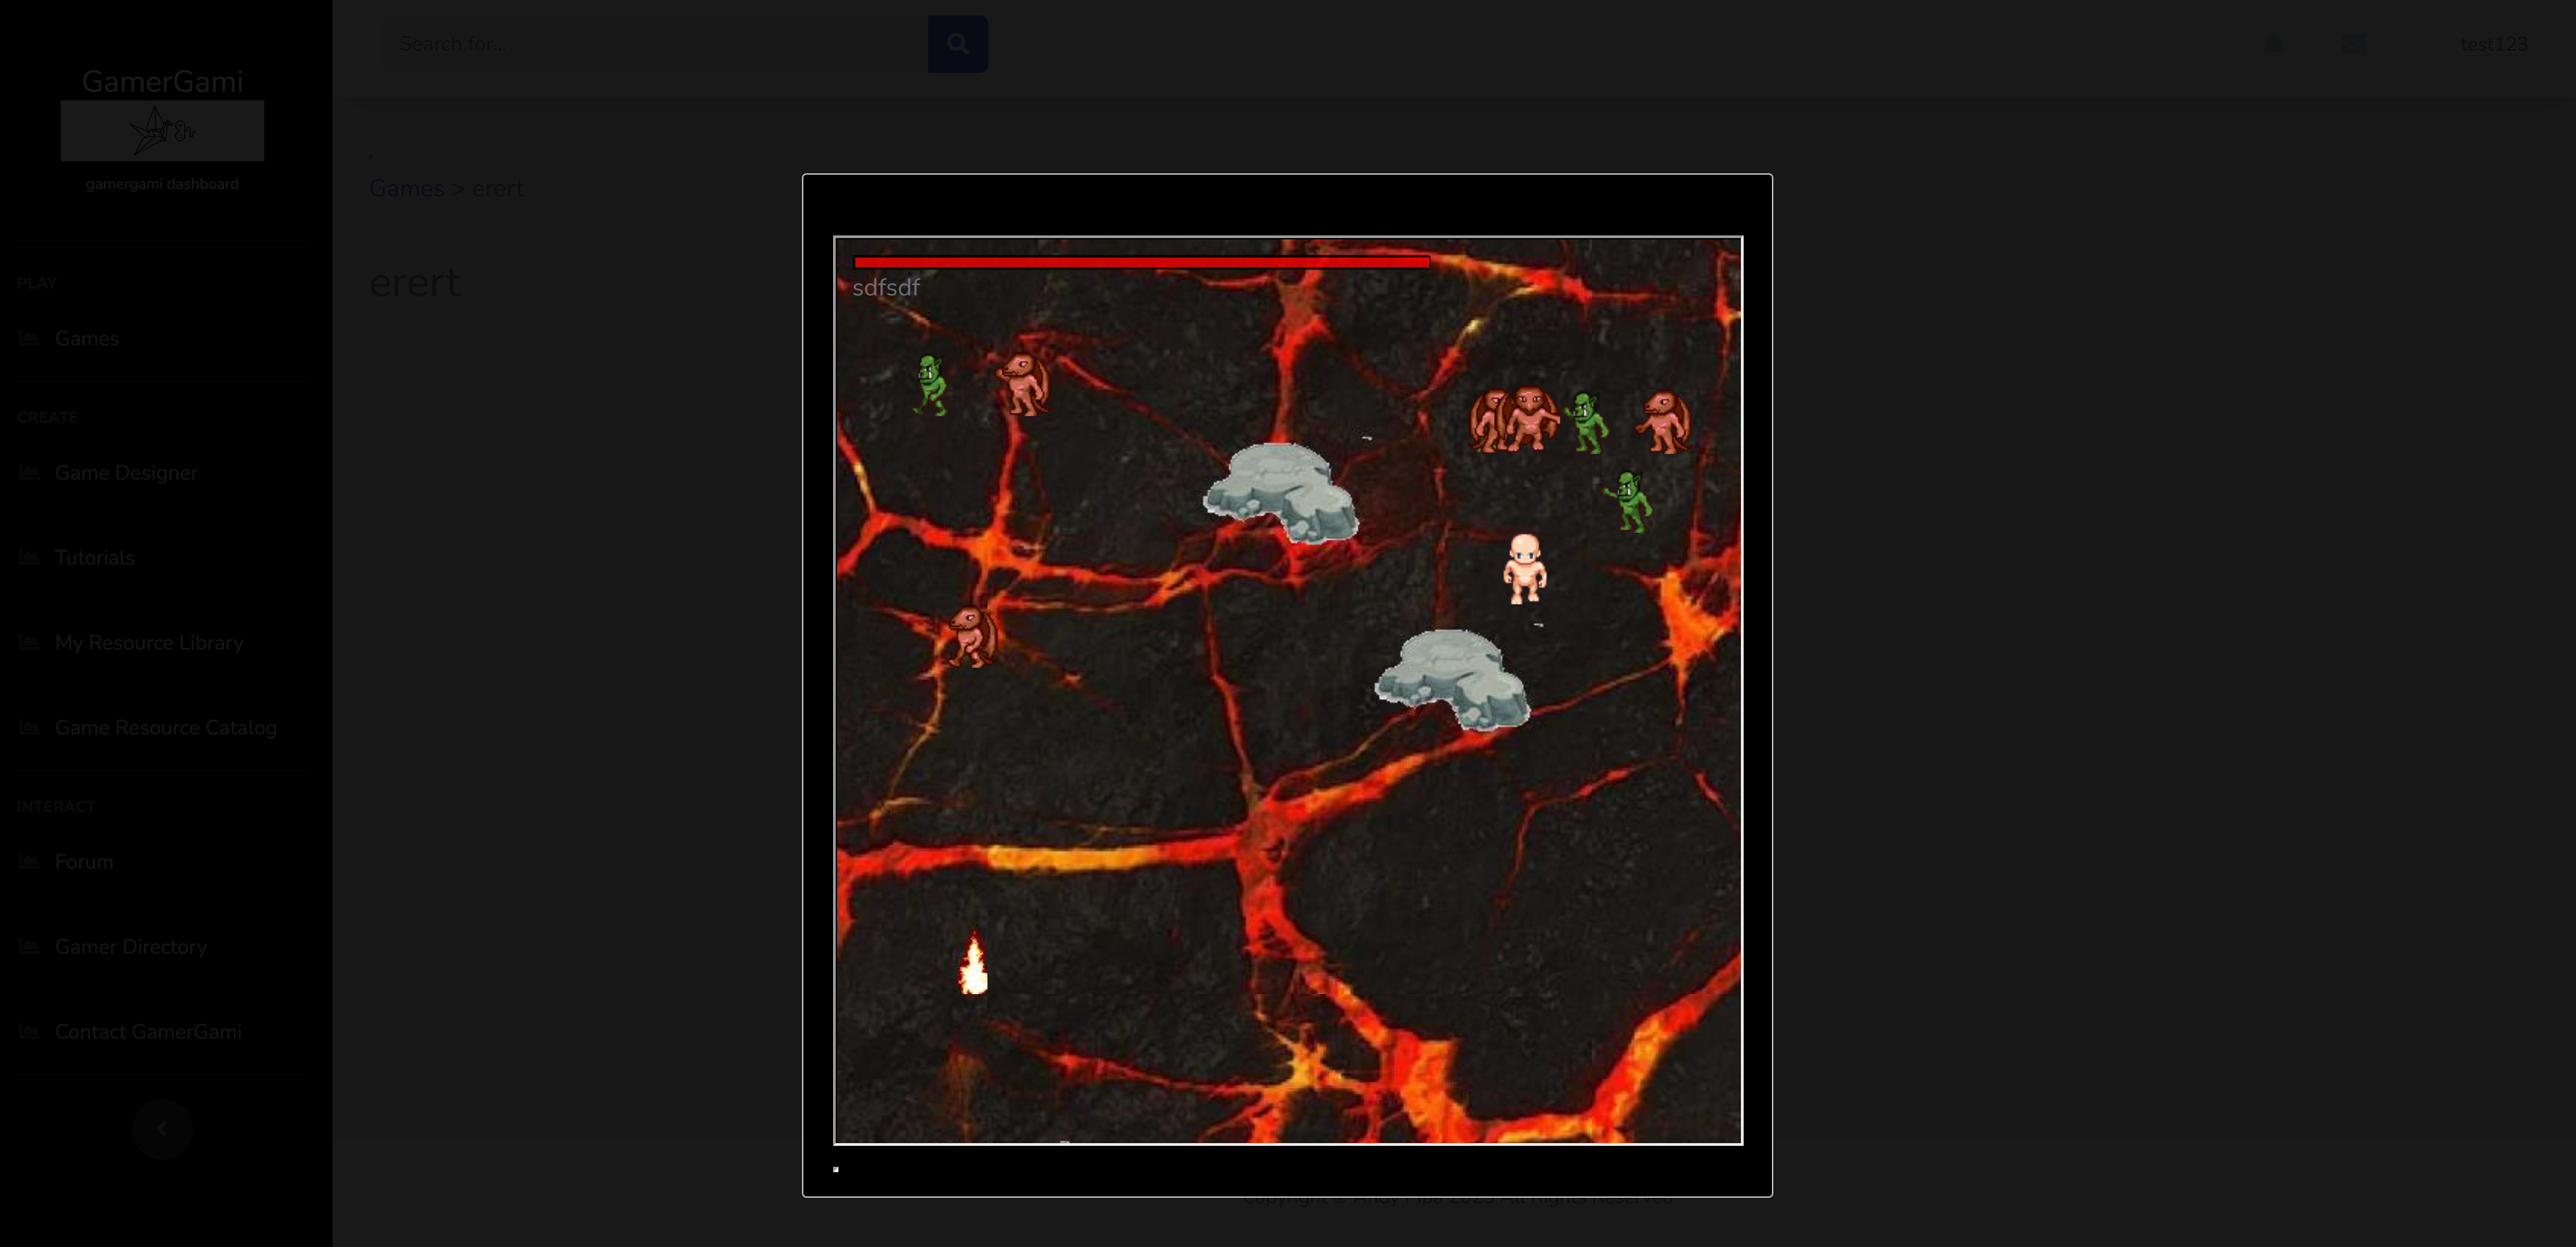 Continue to create your game. When you are ready to let others play it, go to the Game Dashboard and click 'Publish' |
Tutorials |